From Acne to Anti-Aging: The Versatility of Dermaplaning for Different Skin Concerns
What is Dermaplaning?
Ever had one of those days when you just want to “erase” those pesky little facial hair and dead skin cells?
Well, it’s time to meet your new best friend: dermaplaning.
Let’s dive in and find out all there is to know about it.
Definition of Dermaplaning
Dermaplaning, in a nutshell, is a skin exfoliation technique that involves gently scraping off the top layer of your skin with a surgical-grade scalpel.
Now, you might be thinking, “Scalpel? On my face? Yikes!”
Fear not — when done by a skilled esthetician or dermatologist, dermaplaning is a safe and effective way to rejuvenate your skin.
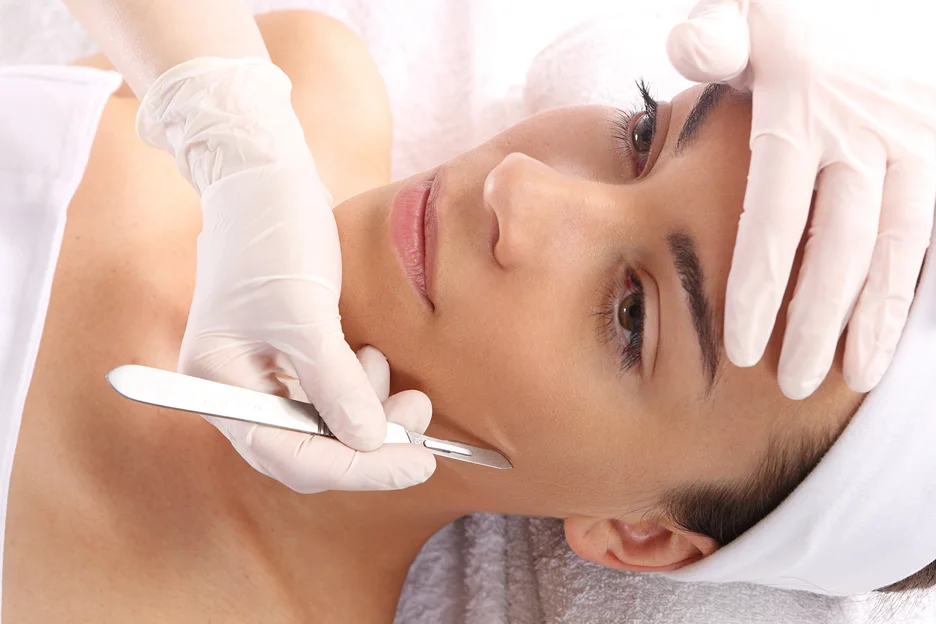
The process involves holding the skin taut and using a sterile blade at a 45-degree angle to gently remove dead skin cells, peach fuzz, and other debris.
The result?
Smoother, brighter, and more youthful-looking skin.
How Dermaplaning Works
Dermaplaning works by gently shaving off the outer layer of dead skin cells on the face and body. Here’s how the process typically works:
Sterilized dermaplaning blades, which are basically small scalpels, are used to shave off the dead, outer layer of skin. The blades glide over the skin using short strokes in one direction. Multiple light passes are typically needed rather than forceful, deep shaving.
Warm saline solution or mineral oil is applied throughout the process to keep the skin lubricated, minimizes irritation and allows the blades to glide more easily. Suction devices or mittens may also be used at times to help lift and tauten the skin.
After dermaplaning, the skin will be red and irritated for a few hours as it heals. Topical cortisone cream, aloe vera, hyaluronic acid or calendula oil can help soothe the skin and reduce discomfort. You will also avoid sun exposure for a few days.
Exfoliation from dermaplaning lasts around 2 to 4 weeks as new skin cell growth emerges. The procedure can typically be repeated every 4 to 6 weeks for continued exfoliation and skincare benefits. Some people do touch-up dermaplaning in between to maintain smoothness.
Dermaplane Facial vs. Regular Facial
A regular facial is a skin treatment that typically includes cleansing, exfoliating, and moisturizing the skin, while a dermaplane facial involves the use of a sharp blade to gently scrape off dead skin cells and vellus hair from the skin’s surface to leave it smooth and glowing.
Dermaplaning facial is a type of physical exfoliation, while a peel is a type of chemical exfoliation. Unlike a regular facial, dermaplaning facial is a method of exfoliation to remove dead skin cells and peach fuzz, which reduces the appearance of acne scars.
Dermaplane Facial vs. Microdermabrasion
While both offer the benefits of exfoliation, microdermabrasion and dermaplaning are two different skin exfoliating processes.
Microdermabrasion involves using an abrasive surface to “sand down” the skin, often requiring several rounds of treatments with results that can last several months.
Common Dermaplaning Treatments
Dermaplaning can be a standalone treatment, or it can be combined with other skincare therapies for a more comprehensive approach to achieving that flawless complexion. Here are a few popular dermaplaning treatments that’ll have you glowing in no time:
Dermaplaning + Chemical Peel
This dynamic duo involves dermaplaning followed by a customized chemical peel, which helps to further exfoliate and rejuvenate the skin.
Dermaplaning + Microdermabrasion
Ready for a double dose of exfoliation? This treatment combines dermaplaning with microdermabrasion, a procedure that uses tiny crystals to buff away dead skin cells, unveiling a brighter, smoother surface.
Dermaplaning + LED LightTherapy
If you’re looking to amp up your skin’s healing and rejuvenating powers, try pairing dermaplaning with LED light therapy. This treatment uses specific wavelengths of light to boost collagen production, reduce inflammation, and promote healing.
Dermaplaning + Oxygen Facial
Breathe new life into your skin with this dynamic combo. After dermaplaning, an oxygen facial is performed to infuse your skin with a burst of pure oxygen and nutrient-rich serums, leaving you with a hydrated, plump, and youthful glow.
Dermaplaning + Hydrafacial
Why not combine dermaplaning with the ever-popular Hydrafacial for a truly indulgent experience? This treatment involves using a specialized device to cleanse, exfoliate, and extract impurities while simultaneously infusing the skin with hydrating serums, giving you the ultimate in hydration and rejuvenation.
Is Dermaplaning Safe and Good for Your Skin?
Alright, let’s get down to the nitty-gritty: is dermaplaning safe, and is it really worth all the hype?
Benefits of Dermaplaning Before and After
First off, let’s talk about those oh-so-enticing benefits of dermaplaning. It’s like giving your skin a “clean slate,” if you will. Here are some of the perks you can expect:
- Smoother, brighter complexion
- Improved absorption of skincare products
- Enhanced makeup application
- Reduction of fine lines and wrinkles
- Gentle exfoliation for sensitive skin
Now, let’s take a moment to appreciate those fantastic before and after results. Picture this: you walk into your dermaplaning appointment with dull, lifeless skin, and you walk out looking like you’ve just had a week-long getaway at a luxurious spa. Trust me, it’s worth it.
Dermaplaning Side Effects and Potential Risks
As with any skincare procedure, there are some potential side effects and risks associated with dermaplaning. But don’t fret – they’re generally mild and quite rare. Keep an eye out for:
| Dermaplaning side effects and potential risks | Description |
| Redness or irritation | This can be similar to a minor sunburn and should resolve on its own. |
| Dryness or flakiness | Moisturizing can help alleviate this side effect. |
| Breakouts | Although rare, some individuals may experience acne breakouts after treatment. |
| Nicks or cuts | While uncommon, it is possible to sustain nicks or cuts during the procedure. It is important to select a skilled professional to perform the treatment. |
Overall, the risks are very minimal, and the rewards can be downright amazing. But, as always, it’s essential to do your research, consult with a skincare expert, and make an informed decision based on your individual needs and skin type.
Who Should Not Do Dermaplaning
While dermaplaning can do wonders for many people, it’s not a one-size-fits-all solution. Some folks should think twice before hopping on the dermaplaning train:
- Those with active acne or open wounds
- People with extremely sensitive skin or conditions like rosacea
- Individuals with thick, dark facial hair
- Anyone using strong retinoids, like Accutane (these can make your skin more sensitive and prone to irritation)
Dermaplaning Pros and Cons
Let’s dive into the pros and cons of dermaplaning to help you decide if it’s the right choice for you.
Pros of Dermaplaning
Exfoliation
One of the most notable benefits of dermaplaning is the exfoliation it provides, leaving your skin feeling as smooth as a baby dolphin. As it gently removes the top layer of dead skin cells, your face is left looking brighter and refreshed.
Hair removal
Let’s be honest, we all have those annoying little facial hairs that we wish would just disappear. Well, dermaplaning is here to save the day! It effectively removes peach fuzz, leaving your skin smooth and hair-free. Say goodbye to those pesky hairs and hello to a flawless complexion.
Improved product absorption
When your skin is free of dead cells and hair, it’s much more receptive to your favorite skincare products. That means your moisturizers, serums, and creams can work their magic even better. It’s like giving them a VIP pass to your skin – they’ll be thanking you!
Cons of Dermaplaning
Here are some potential downsides and cons of dermaplaning to be aware of:
Irritation and redness
Dermaplaning removes the outer layer of skin, which can cause irritation, redness and sensitivity for a few days. This is normal but uncomfortable for some. Use of soothing aloe vera, cortisone cream and avoiding sun/heat can help reduce irritation.
Ingrown hairs
While dermaplaning exfoliates hair and reduces hair growth, ingrown hairs are still possible. Using a moisturizer with glycolic acid, salicylic acid or tea tree oil can help prevent ingrown hairs, especially on areas like the legs, bikini area or upper lip.
Infection risk
There is a small risk of infection if proper sanitation procedures are not followed. Though rare, infections like staph or impetigo are possible, especially for those with compromised immune systems. Be sure to find an experienced practitioner and ask about their safety protocols.
Scarring or excessively dry skin
Dermaplaning targets thin, narrow sheets of dead skin but it is possible for practitioners to nick deeper layers or cause minor scarring, especially for those with sensitive skin. Extreme dryness can also develop if not properly hydrated after dermaplaning.
Dermaplaning Procedure and Process
You know that feeling when you finally get a chance to peel off that annoying sticker from a new purchase? That oddly satisfying sensation can be compared to the dermaplaning experience – a smooth, radiant, and renewed complexion. But before we dive into the nitty-gritty of this popular skincare treatment, let’s take a quick look at the road to dermaplaning bliss.
Preparation for dermaplaning
Like all great things, a little prep work is required for a successful dermaplaning journey. Here’s how to get your skin ready for its close-up:
- Clean slate: Thoroughly cleanse your face to remove any dirt, oil, or makeup. Remember,a clean surface is essential for a smooth dermaplaning process.
- Skip the exfoliants: Avoid using any harsh exfoliants, scrubs, or retinol products a few days before your dermaplaning appointment. Your skin needs to be as calm and irritation-free as possible.
- Moisturize: Keep your skin hydrated leading up to the treatment. A well-moisturized canvas will help the dermaplaning blade glide effortlessly, minimizing any potential discomfort.
In-office Dermaplaning vs. At-home Dermaplaning
Here is a comparison of in-office dermaplaning treatments versus at-home dermaplaning tools:
In-office Dermaplaning (Performed by a Dermatologist or Aesthetician):
Pros:
- Done by a trained professional with medical expertise. They can properly evaluate your skin and suitability for the procedure.
- Uses high-quality, sterile equipment and follows strict sanitation procedures to prevent infection and ensure safety.
- Can treat larger areas and more variable curves/contours compared to small at-home tools. Entire face, neck, arms, legs, etc. can be addressed.
- Provides instant gratification from smooth, glowing results. No waiting for hair regrowth between treatments.
- Often combined with other professional treatments like microdermabrasion, medical microneedling or laser hair removal for enhanced benefits.
- Proper numbing agents can be used to minimize discomfort.
Cons:
- Typically more expensive than at-home dermaplaning tools and options. Treatment costs will depend on areas treated and number of visits needed. Repeated treatments require ongoing investment.
- Requires travel to and time spent at a dermatologist office or aesthetic clinic. Not always the most convenient option, especially for maintenance and touch-up treatments.
- Irritation and redness may still develop for a day or two after, though often less severe than at-home dermaplaning. Some downtime is still needed before sun/heat exposure.
At-Home Dermaplaning Tools ( Epilators, Derma Rollers, DIY Dermaplaning Kits):
Pros:
- Typically very affordable, often less than $50. No ongoing costs or spent on repeat visits after the initial tool purchase.
- Can treat yourself in the comfort of your home on your own schedule. Convenient for maintenance, touch-ups and smaller sessions.
- No travel required and less time commitment. Can simply do a quick treatment whenever needed between salon visits.
- May cause less discomfort than in-office options depending on pain tolerance and size of tool used. The smaller tools often lead to minimal irritation.
Cons:
- Lack of medical expertise. At-home tools are not performed by professionals, increasing risks of improper use, injury, infection or undesirable results. Patch testing is rarely done.
- Limited size/curve capability. Can only treat smaller, flatter areas with basic geometry. Not suitable for full faces, necks, extremities, etc.
- Higher risks of ingrown hairs, irritation, redness and scarring due to lack of technique, sanitation procedures and follow-up care. Proper skin care is needed but not guided.
- Lack of effective numbing, so discomfort is more likely during treatment and after as irritation develops.
- Uneven, patchy results are common for beginners without experience or guidance. Smooth, professional-looking results are more difficult to achieve on one’s own.
Step-by-Step Dermaplaning Process
Now that your skin is prepped and ready, let’s walk through the dermaplaning process step by step:
- Preparation: Your esthetician will gently stretch the skin taut to create a smooth surface for the dermaplaning blade to glide over. This helps to avoid any nicks or cuts during the treatment.
- Procedure: Using a sterile, single-use dermaplaning blade, the esthetician will gently scrape the skin at a 45-degree angle, removing dead skin cells and vellus hair (aka peach fuzz) in the process. The sensation is often described as a gentle tickle or light scratch.
- Cleaning: After the dermaplaning is complete, the esthetician will use a clean cloth or gauze to wipe away any remaining debris, revealing your fresh and vibrant complexion.
- Soothe and protect: To calm and hydrate the skin, your esthetician may apply a soothing serum, moisturizer, or cooling mask post-treatment. Don’t forget the SPF – freshly exfoliated skin is more sensitive to the sun, so make sure you’re protecting your investment with a broad-spectrum sunscreen.
Dermaplaning Aftercare and Maintaining Results
What’s the secret to making your dermaplaning glow last? Follow these simple aftercare tips to maintain those fabulous results:
| Dermaplaning Aftercare and Maintaining Results | Tips |
| Stay gentle: | For the first 24-48 hours after treatment, avoid any harsh or abrasive products, as your skin may be more sensitive than usual. |
| Hydrate: | Keep your skin moisturized to promote healing and maintain a soft, supple complexion. Drink plenty of water to stay hydrated from the inside out. |
| Protect: | Sun protection is a must! Apply a broad-spectrum SPF daily to shield your freshly exfoliated skin from harmful UVA and UVB rays. |
| Consistency: | To maintain your dermaplaning results, aim to schedule treatments every 4-6 weeks, depending on your skin type and concerns. |
| Home care: | Invest in quality skincare products to support and enhance the effects of your dermaplaning treatments. Follow a tailored skincare routine that complements your in-office treatments. |
How To Prevent Scarring After Dermaplaning
Here are some tips to help prevent scarring after dermaplaning:
Choose an experienced dermatologist or aesthetician. Scarring after dermaplaning is rare but more likely when performed by inexperienced practitioners. Make sure the professional has good reviews, credentials, and experience specifically providing dermaplaning procedures.
Do a patch test first. A patch test involves doing a small trial treatment on a small, inconspicuous area of skin to check for any adverse reactions before proceeding with a full treatment. This helps ensure you tolerate the procedure well and reduces risks of scarring.
Use proper numbing agents. Topical creams or injected anesthetic solutions can numb the skin and minimize discomfort during dermaplaning which may lead to unintended scratching or squeezing that causes scarring. Numbing also allows for longer, gentler treatments.
Take an over-the-counter anti-inflammatory. Oral medications like ibuprofen or topical creams containing hydrocortisone can help reduce redness, irritation and swelling after dermaplaning. This improved healing and shorter recovery time may lead to less scarring.
Apply silicone gel or sheets. Silicone is proven to help fade scars and reduce their appearance. Applying silicone gel, silicone sheets or silicone scar pads to any marks after dermaplaning may help minimize the visibility of scars over time as the skin heals.
Avoid sun/heat exposure. Too much sun or heat too soon after dermaplaning can cause scarring by damaging recently exfoliated skin. Limit sunbathing, tanning beds, and steam rooms for at least 1 to 2 weeks after the procedure until skin has fully healed. Wearing SPF 30+ sunscreen and hats/sunglasses also help.
Moisturize and hydrate skin daily. Keeping skin well hydrated as it heals from dermaplaning will promote quick healing and minimal scarring. Use a fragrance-free cream, ointment or oily serum 2-3 times a day for 2-4 weeks after the procedure. Hyaluronic acid helps boost hydration and skin repair.
Give scars time to fade. Fading scars can take 3-12 months depending on the severity. Be patient and continue using silicone, cortisone creams and moisturizers during this time. Professional medical procedures may also help fade and improve scars if needed. Many small marks completely disappear over several months.
Finding a Qualified Professional
When it comes to choosing the right professional for your dermaplaning treatment, doing your research is essential. Here Are some tips to help you find a qualified and experienced esthetician:
- Read reviews: Check online reviews and testimonials from clients who have had dermaplaning treatments at the location you’re considering. This can give you a better idea of the quality of service and the results you can expect.
- Ask for recommendations: Reach out to friends or family members who have had dermaplaning treatments and ask for their suggestions. Personal recommendations can provide insight into the overall experience and help you find a reliable professional.
- Check qualifications: Make sure the esthetician you choose is certified and trained in dermaplaning. Don’t be afraid to ask about their experience and certifications, as a qualified professional will be more than happy to discuss their credentials.
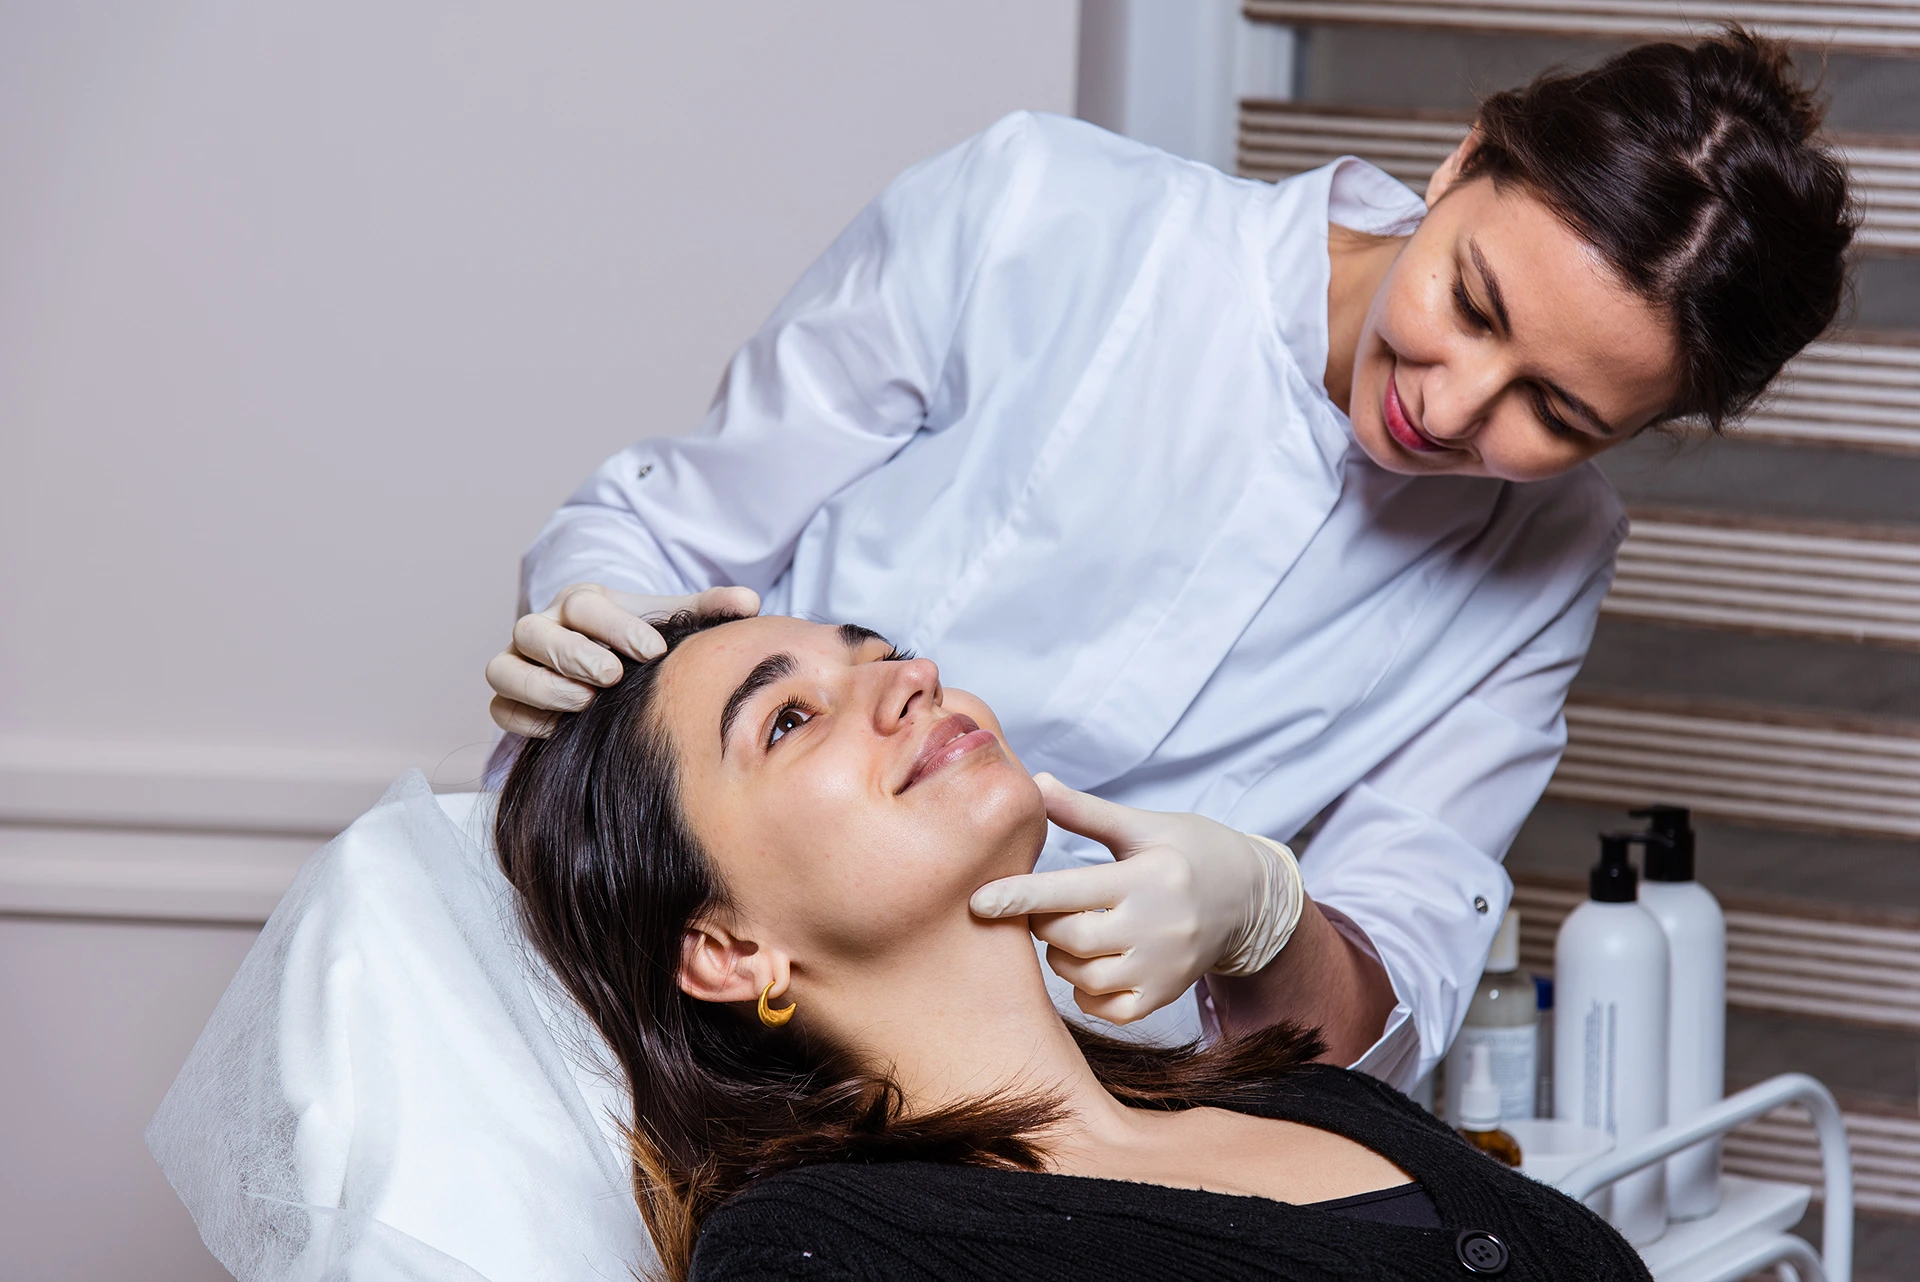
- Schedule a consultation: Before committing to a dermaplaning treatment, schedule a consultation with the esthetician to discuss your skin concerns and goals. This will allow you to get a feel for their expertise and ensure they are the right fit for you.
- Look for a clean and professional environment: The treatment location should be clean, hygienic, and adhere to proper safety protocols. A professional esthetician will prioritize their clients’ health and well-being.
Frequently Asked Questions
Should I Dermaplane My Face?
Ah, the golden question! Dermaplaning can be a game-changer for many people, but it’s not a one-size-fits-all solution. Consider your skin type, concerns, and overall goals before diving into the world of dermaplaning. If you have dull, dry skin or excessive peach fuzz, this treatment can be a fantastic addition to your skincare regimen.
However, if you have acne-prone or highly sensitive skin, it might be best to explore other options. When in doubt, consult a professional esthetician for personalized advice.
Does Dermaplaning Work for All Skin Types?
In general, dermaplaning works well for most skin types, but there are some exceptions. If you have active acne, rosacea, or extreme sensitivity, dermaplaning might not be the best choice for you. It’s always a good idea to consult with a professional esthetician to determine if dermaplaning is the right fit for your unique skin needs.
How Often Should I Dermaplane?
There’s no one-size-fits-all answer here – it depends on your skin! For most people, dermaplaning every 4-6 weeks is ideal. This allows the skin to regenerate and helps maintain optimal results.
However, if you have a specific skin concern or a more sensitive complexion, your esthetician might recommend a different frequency. The key is to listen to your skin and work with a professional to find the perfect balance.
What tools are used for dermaplaning?
Dermaplaning is performed using a sterile, surgical-grade scalpel or blade. The tool is held at a 45-degree angle to the skin and gently scraped along the surface, removing dead skin cells and peach fuzz.
It’s essential to use a high-quality, sharp blade to ensure a safe and effective treatment. Remember, attempting dermaplaning at home without proper knowledge can be risky – might be best to leave it to the pros!
How Long Should I Wait Before Using Makeup After Dermaplaning?
It is best to wait at least 6 to 24 hours after dermaplaning before applying any makeup. Here are some guidelines for timing your makeup application after dermaplaning:
Wait at least 6 hours. After dermaplaning, your skin will be sensitive and exfoliated. Makeup too soon after treatment can irritate the skin, smudge or streak, and prevent proper healing. Waiting at least half a day allows initial healing, reduction in redness and ensures makeup will apply smoothly without issues. Light moisturizers and sun protection are still recommended even after this waiting period.
Avoid heavy or full-coverage makeup for the first day. When you do start wearing makeup, stick to light, sheer and oil-free formulas. Things like tinted moisturizers, loose powders, lip balms or just sunscreen are good options. Heavy foundations, concealers or full-face makeup can irritate freshly dermaplane skin or prevent it from “breathing.”
Wait 24 hours before wearing face treatments with molecules. New skincare products with active ingredients like retinoids, vitamin C serums, hyaluronic acid serums etc. can boost collagen production after dermaplaning, but may irritate the skin if applied too soon after treatment. Wait at least 24 hours from dermaplaning before using any potent skincare treatments. You can continue using your standard moisturizers and sun protection in between.
Exfoliant use should be limited for a few days. As your skin will be sensitive after dermaplaning, it is best to avoid any further exfoliation for 3-5 days. Using scrubs, brushes or chemical exfoliants like glycolic acid too soon can damage tender skin or prevent proper healing. Stick to just washing gently with a mild cleanser, moisturizing and sun protection for the first few days after dermaplaning.
Tan beds and pool activities also need to wait. Any sun exposure or tanning will need to wait at least 3-5 days after dermaplaning to prevent damage, over-reddening, irritation and scarring. Cover up with hats, clothing and SPF 30 or higher sun lotion even when outside for brief periods.
Overall, patience and caution are recommended when caring for your skin after dermaplaning. Avoiding irritants, limiting sun exposure and heavy makeup/products, exfoliation and sun tanning for the first few days will allow your skin to heal well with minimal issues.
Be sure to continue using a fragrance-free daily moisturizer though for the next 2-4 weeks as new skin cell growth emerges.
Dermaplaning at CosMedic LaserMD
Dermaplaning can be a fantastic addition to your skincare routine, but it’s important to approach it with knowledge and care. Consult a professional esthetician to determine if it’s right for you, and follow their guidance for optimal results.
With the right approach and aftercare, you’ll be on your way to smoother, more radiant skin in no time!Schedule a free consultation with CosMedic LaserMD today to learn more. We’ll be happy to answer all your questions.