Mastering Dermaplaning: A Step-by-Step Guide
By following these expert-approved tips and techniques, you’ll be able to dermaplane like a pro and achieve the smooth, radiant skin you desire.
- Preparation is Key – To achieve smoother, more radiant skin through dermaplaning, it’s crucial to prep your skin. Remove any makeup, oil, or dirt before starting the process.
- Choosing the Right Razor – Select a high-quality dermaplaning razor specifically designed for the task. These razors have a unique blade angle and are designed for gentle, safe use on the skin.
- The Gentle Gliding Motion – Hold the razor at a 45-degree angle and gently glide it across the skin in short, light strokes. Apply gentle pressure, and avoid applying too much pressure, which can cause nicks and cuts.
Preparing Your Skin for Dermaplaning
Prepare Your Skin for Dermaplaning
Cleanse Your Skin Before dermaplaning, thoroughly cleanse your skin with a gentle cleanser to remove dirt, oil, and makeup. This ensures the razor glides smoothly and effectively, allowing for a comfortable and successful dermaplaning experience.
Dry Your Skin Completely dry your skin to prevent any slipping while using the razor.
Avoid Active Ingredients Avoid using active ingredients like retinol or exfoliating acids on the day of dermaplaning to prevent irritation or sensitivity.
Choosing the Right Dermaplaning Razor
To achieve smooth, radiant skin, it’s crucial to choose a high-quality dermaplaning razor that meets your specific needs. A comfortable grip is essential, so look for a razor with a long handle that fits comfortably in your hand, providing easy grip and control during the process.
Selecting the Right Tool for Smooth Skin
A tapered edge is also crucial, as it allows for precision and safety while removing dead skin and peach fuzz. This design feature enables you to navigate curves and contours of the face with ease.
- Tapered Edge for Precision and Safety – Consider a razor with replaceable blades, not only for sustainability but also for cost-effectiveness in the long run. This feature ensures you can continue to use the razor without having to purchase a new one.
- Replaceable Blades for Sustainability and Cost-Effectiveness – The material of the razor is also important; opt for one made from high-quality materials like golden aluminum, which ensures durability and effectiveness.
- Durable Materials for Long-Lasting Performance – Finally, make sure the dermaplaning razor comes with a protective tin for safe storage and hygienic maintenance. This ensures your razor remains clean and ready for use.
Holding the Razor Correctly
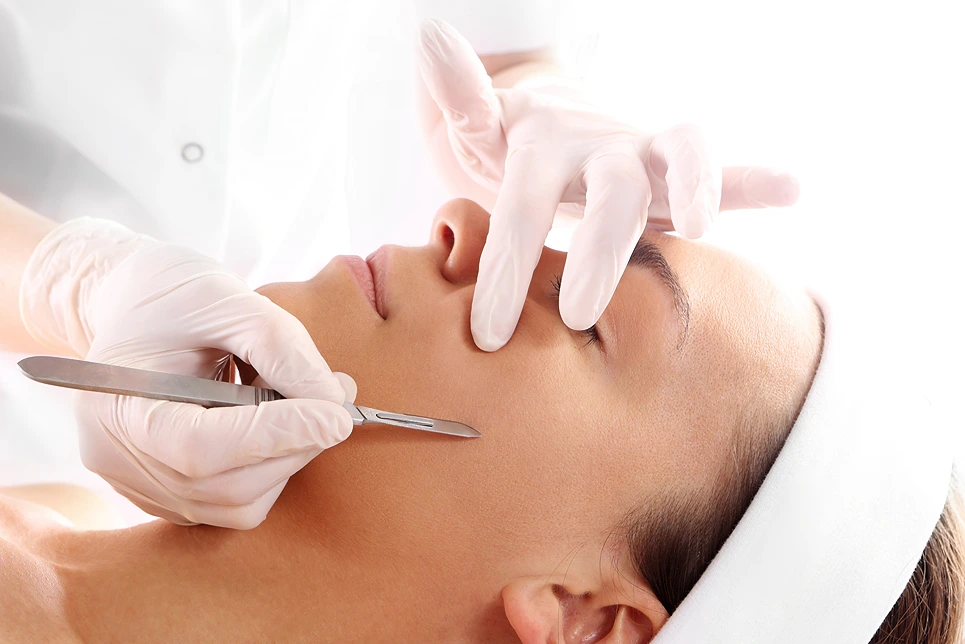
To master the correct grip, position your dominant hand with your thumb and index finger on either side of the razor’s handle, and your middle finger on the back of the handle for added control.
This grip allows for precise adjustments to the blade’s angle, ensuring effective removal of dead skin cells and peach fuzz.
Angle of the Blade
- Hold the dermaplane razor at a precise 45-degree angle to the skin to achieve optimal results. This crucial angle enables safe and effective removal of dead skin cells and peach fuzz in one smooth motion.
- Holding the razor at the correct angle ensures removal of dead skin cells and peach fuzz. This precise angle enables safe and effective exfoliation, giving your skin a smooth and radiant appearance.
- The 45-degree angle is key to achieving the best results, including improved skin texture and a more even tone.
Razor Grip Techniques
Developing a Comfortable Grip
To master dermaplaning, it’s crucial to develop a comfortable and confident grip on the razor.
Hold the dermaplaning razor with a firm grip, utilizing the ergonomic handle for better control and precision. This grip allows for smooth maneuverability, ensuring a safe and effective exfoliating experience.
Holding the Skin Taut
While holding the razor, use your other hand to hold the skin taut, creating a smooth surface for the razor to glide over evenly.
This enables you to achieve short, feathery strokes, essential for removing dead skin cells and peach fuzz.
Maintaining Cleanliness
After each stroke, wipe the blade on a reusable cotton pad or tissue to remove any accumulated debris and maintain cleanliness.
This ensures a smooth and even exfoliation process.
Hand Positioning Tips
- Hold the dermaplane razor correctly to achieve optimal control and precision. Hold the dermaplane razor with your dominant hand, positioning it firmly between your thumb and index finger, with your thumb on top of the handle and your fingers wrapped around the ergonomic grip.
- Maintain the correct angle and stroke technique for effective dermaplaning. Hold the razor at a 45-degree angle against your skin, ensuring the blade is in contact with the skin to effectively remove dead skin cells and peach fuzz. Keep the handle steady and move in short, feathery strokes in the direction of hair growth.
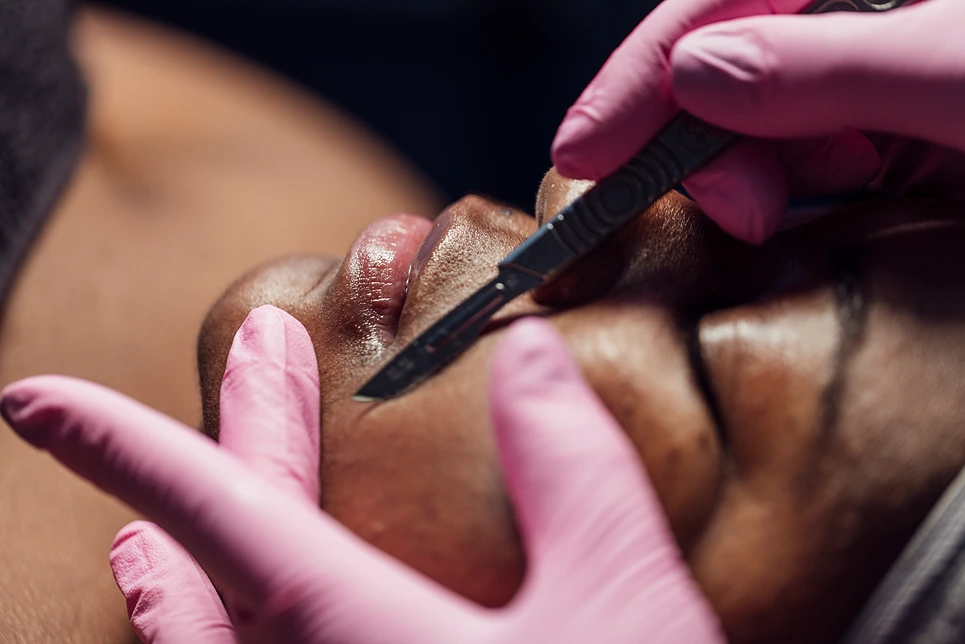
Gliding the Razor Across Skin
Glide the Razor Across Your Skin at a 45-Degree Angle
To achieve proper exfoliation and remove dead skin cells and peach fuzz, position the dermaplane razor at a 45-degree angle to the skin. Glide it across your face in small sections, working from the ear towards the center.
Ensure a Smooth and Safe Gliding Process
Keep your skin taut to avoid nicks or cuts. Use short, gentle strokes in the direction of hair growth. Avoid going over the same area multiple times to prevent irritation and ensure smooth results.
Avoiding Common Dermaplaning Mistakes
To avoid common dermaplaning mistakes, focus on two crucial steps: pre-dermaplaning preparation and post-dermaplaning care.
By getting these steps right, you minimize the risk of skin irritation, cuts, and other issues that can ruin your dermaplaning experience.
- Pre-dermaplaning preparation involves cleansing and drying the skin thoroughly to prevent bacterial growth and inflammation. Remove any makeup, oils, and lotions, and ensure the skin is free of any cuts or wounds.
- Post-dermaplaning care is equally important. Apply a soothing serum or cream to calm the skin, and avoid direct sunlight, exfoliating products, and harsh chemicals for at least 24 hours. This allows the skin to recover from the exfoliating process and minimizes the risk of complications.
Pre-Dermaplaning Prep
Before dermaplaning, thoroughly cleanse your skin with a gentle cleanser to remove dirt, oil, or makeup. This ensures the dermaplaning razor glides smoothly and prevents clogs.
Additionally, follow these essential steps:
- Avoid using active ingredients like retinol or exfoliating acids for at least 24 hours before dermaplaning to prevent irritation.
- Ensure your skin is completely dry before using the dermaplaning razor for smooth and effective hair removal.
- Follow proper dermaplaning techniques, such as holding the skin taut with one hand and using short, gentle strokes in the direction of hair growth.
Post-Dermaplaning Care

Immediately after dermaplaning, your skin and facial hair become more sensitive. To ensure optimal results and prevent common mistakes, prioritize proper post-dermaplaning care.
Protect Your Skin from the Sun
Avoid sun exposure and use a broad-spectrum sunscreen with at least SPF 30 to protect your newly exposed skin, which is free from dead cells.
Choose Gentle Skincare Products
Opt for gentle skincare products that won’t irritate or inflame your skin. Avoid harsh exfoliants and astringents, and instead, use gentle cleansers and moisturizers.
Maintain Hydration Balance
Drink plenty of water to keep your skin hydrated from the inside out. Apply moisturizers to lock in moisture and maintain the hydration balance.
Follow Personalized Guidance
Follow your dermatologist’s advice for personalized guidance on post-dermaplaning care. They can provide tailored advice based on your skin type and specific needs.
Consistency is Key
Stick to your aftercare routine to prevent any adverse reactions and maintain the benefits of dermaplaning. Consistency is key to achieving radiant, healthy-looking skin.
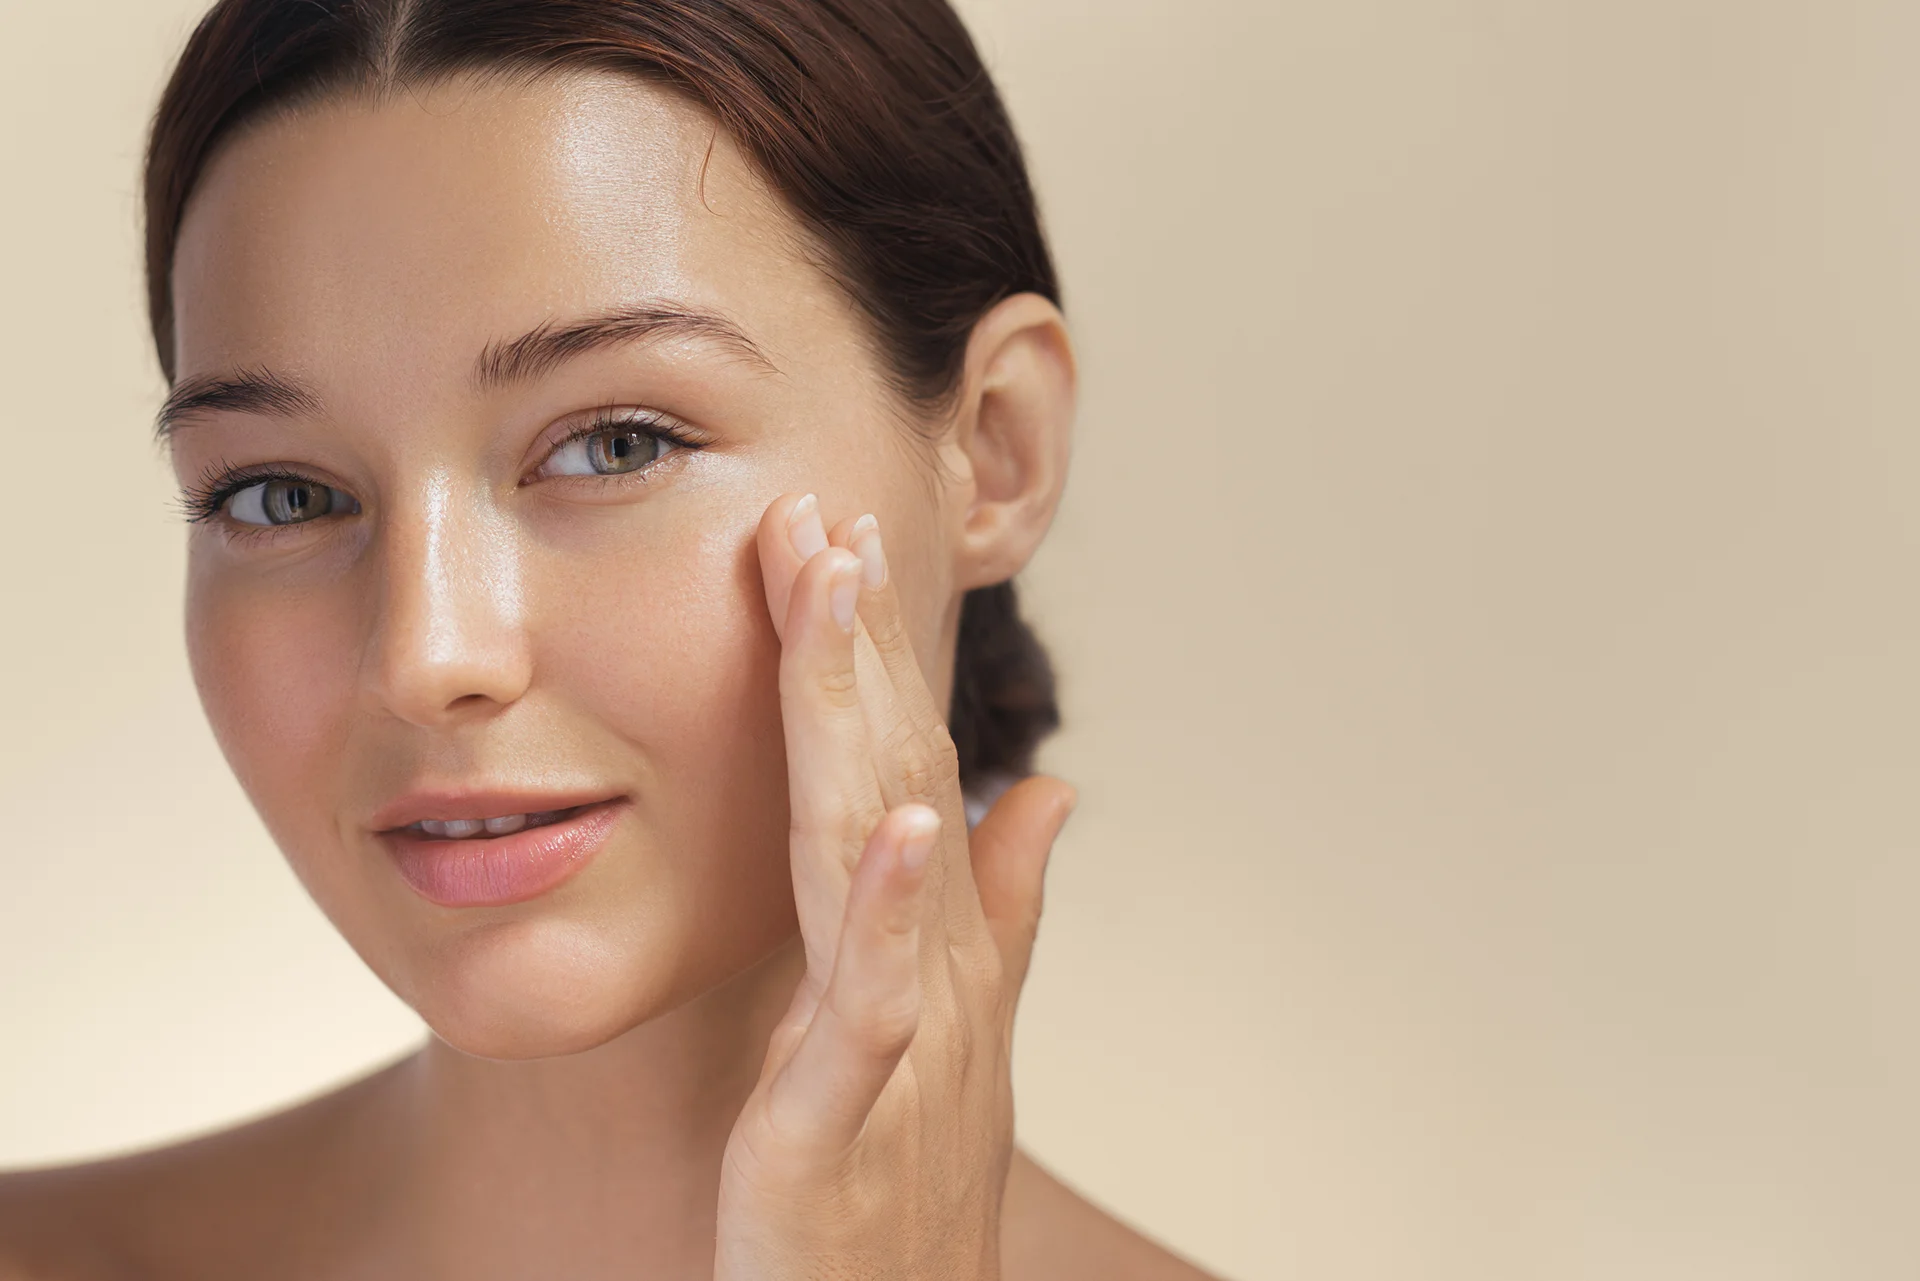
Soothing and Hydrating the Skin After Dermaplaning
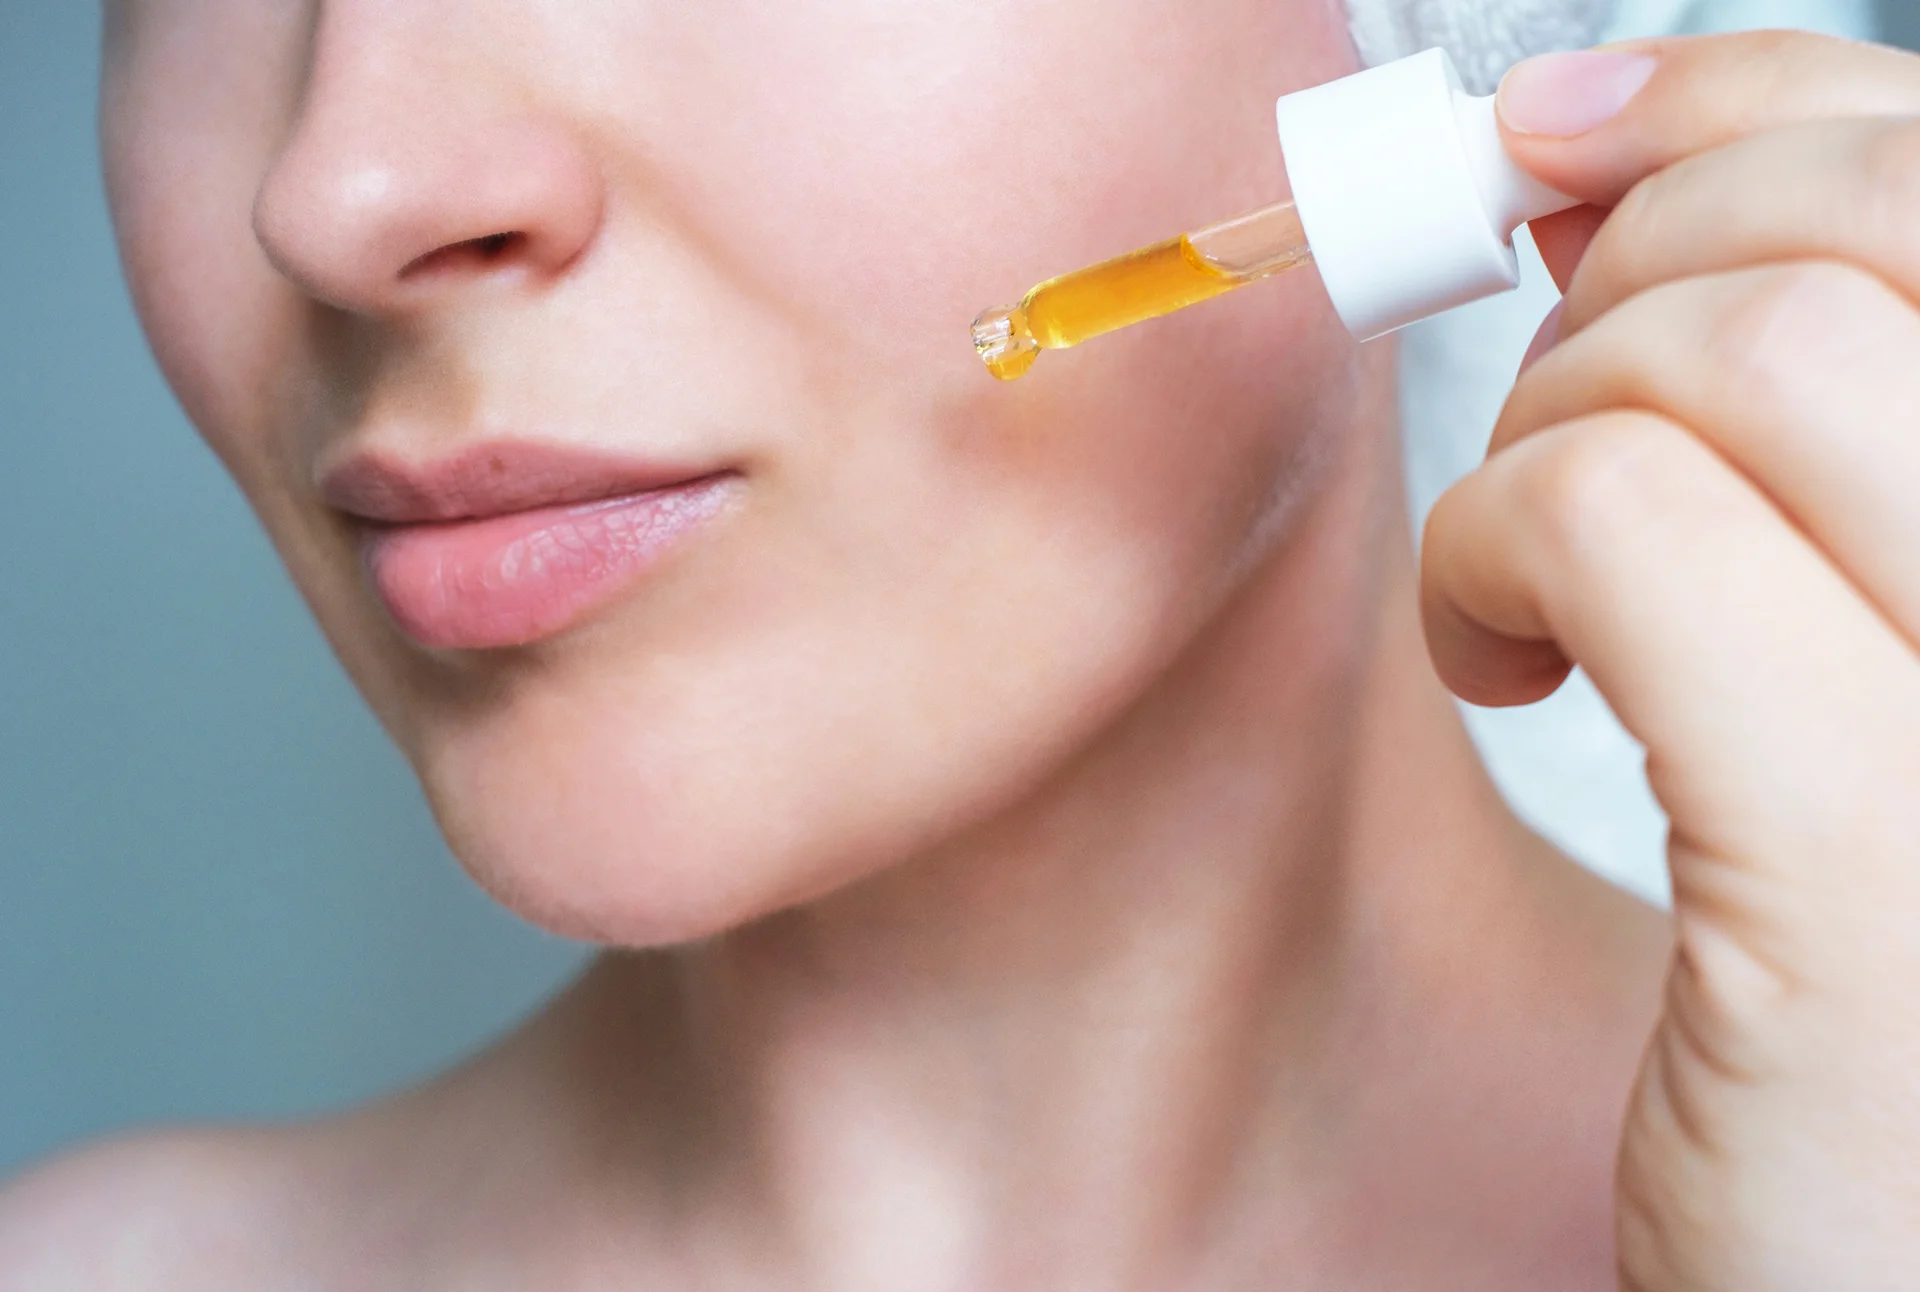
After dermaplaning, applying a calming and hydrating serum is crucial to soothe your skin and restore its natural balance. This step helps reduce redness and irritation that may occur after using a dermaplane razor.
When selecting a serum, look for ingredients with calming and hydrating properties.
Key ingredients to look for include:
- Aloe vera, which reduces inflammation and soothes the skin.
- Hyaluronic acid, which locks in moisture and promotes hydration.
- Cucumber, which calms and cools the skin.
Cleaning and Maintaining the Razor
To ensure optimal performance and safety, develop a routine for cleaning and maintaining your dermaplaning razor.
- Rinse the razor with soap and water after each use to remove any residue and prevent bacterial growth.
- Inspect the blade daily to detect any signs of wear or damage. Check for rust, corrosion, or nicks that may affect the blade’s performance.
- Store the razor safely in a dry place, away from children and pets, to prevent accidents and damage.
- Use a protective case or cover to shield the razor from dust and other environmental factors.
Proper Storage Tips for Dermaplane Razors
To maintain the effectiveness and hygiene of your dermaplane razor, proper storage is crucial.
- Store your razor in a dry, clean area to prevent rust or contamination.
- When not in use, keep your razor in a protective case or container to prevent accidental damage or exposure to dirt.
- Clean the razor with rubbing alcohol before and after each use to prevent bacteria buildup.
- Replace the blade regularly to maintain effectiveness and hygiene. This ensures your razor remains in top condition.
- Store the razor in a dry, clean area to avoid rust or contamination.
Dermaplaning for Different Skin Types
Dermaplaning is a safe and effective treatment for all skin types, including sensitive skin, when performed correctly.
Dermaplaning benefits various skin types in the following ways:
- Oily Skin: Dermaplaning removes excess oil and unclogs pores, resulting in a more balanced skin tone.
- Dry Skin: By removing dead skin cells, dermaplaning allows for better absorption of moisturizing products, leaving skin feeling softer and more hydrated.
- Combination Skin: Dermaplaning helps to create a smoother texture and improve product penetration, resulting in a more even-toned complexion.
- Normal Skin: Dermaplaning maintains healthy, glowing skin and enhances the effectiveness of skincare products.
- Sensitive Skin: When done correctly, dermaplaning is a safe and gentle exfoliating treatment that doesn’t use harsh chemicals, making it suitable for sensitive skin.