To master at-home dermaplaning, choose the right oil (jojoba, squalane, argan, rosehip, or grapeseed) for your skin type, prepare your skin properly, use a sterile tool with light strokes, and follow up with soothing care.
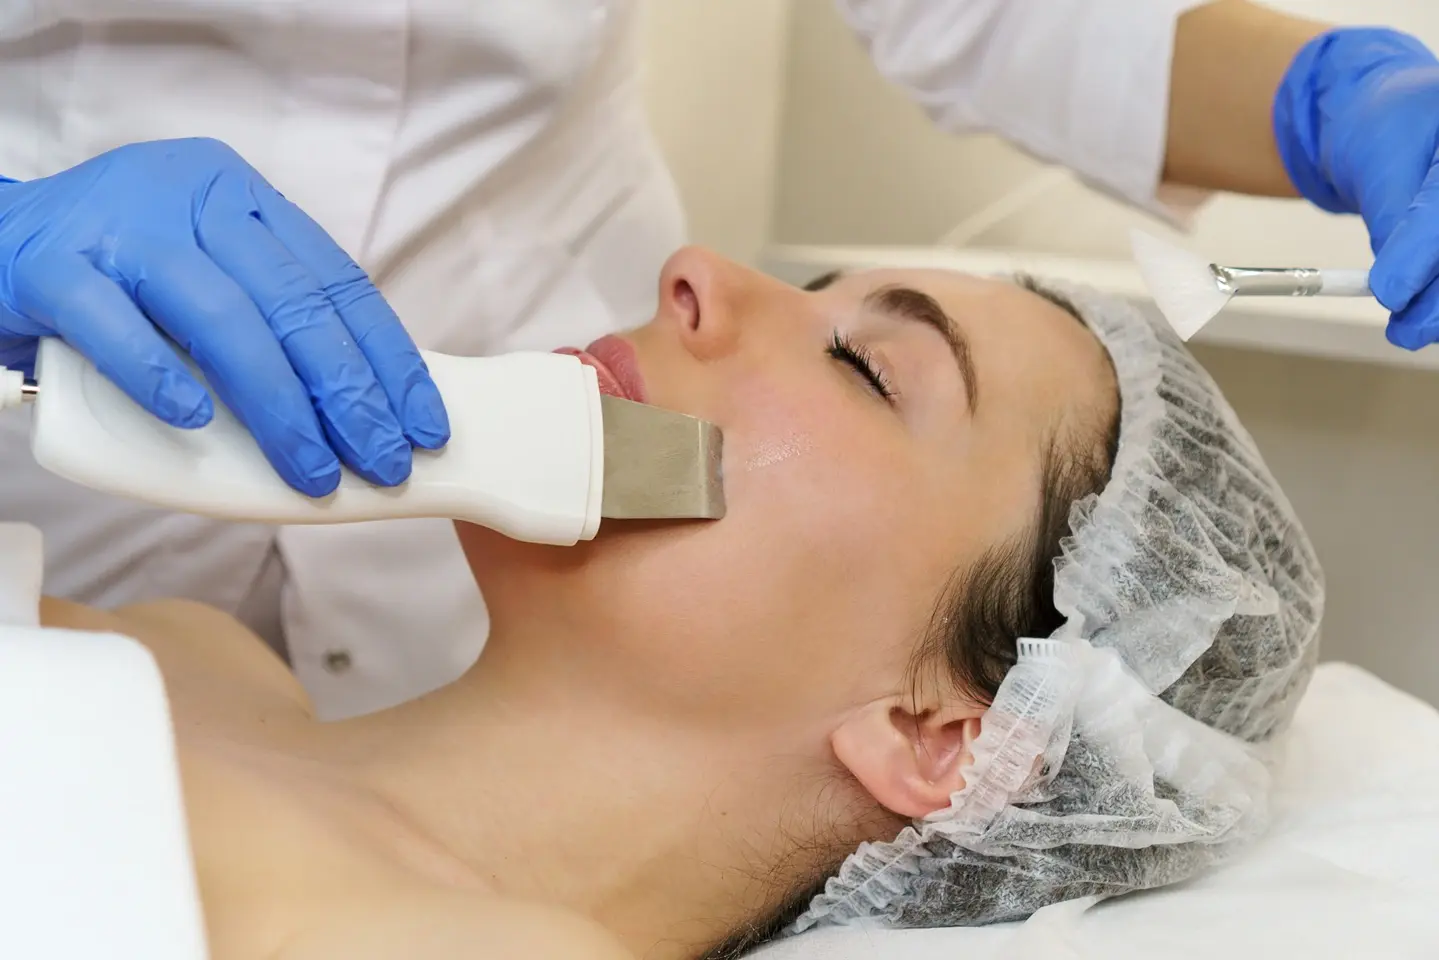
Dermaplaning is a simple yet highly effective facial rejuvenation treatment that has become increasingly popular in recent years. The technique involves using a fine surgical blade or dermaplaning tool to gently scrape off the top layer of dead skin cells and fine vellus hair (peach fuzz).
When performed correctly, dermaplaning can provide several skin benefits:
- Exfoliation – Removes debris, dirt and dead skin for a smooth, glowing complexion
- De-fuzzing – Gets rid of fine facial hair and eliminates the need for shaving
- Product penetration – Allows skincare products to absorb deeper into the skin
- Makeup application – Creates the perfect canvas for makeup to glide on smoothly
While dermaplaning is generally safe for most skin types, there are some important factors to consider before trying it at home. Choosing the right oil, proper technique, and understanding when to see a professional are key to avoiding irritation and getting the best results.
Is Dermaplaning at Home Right for You?
Dermaplaning is suitable for many different skin types, but figuring out if it’s right for your individual skin requires looking at a few key factors:
Skin Types
In general, those with normal, dry or combination skin are good candidates for at-home dermaplaning. The exfoliation can help improve texture, absorb moisturizers better and create a smoothing effect.
People with oily and acne-prone skin can also benefit, but may want to dermaplane less frequently to avoid over-exfoliating. It’s best to start slow (every 2-4 weeks) and gauge how your skin responds.
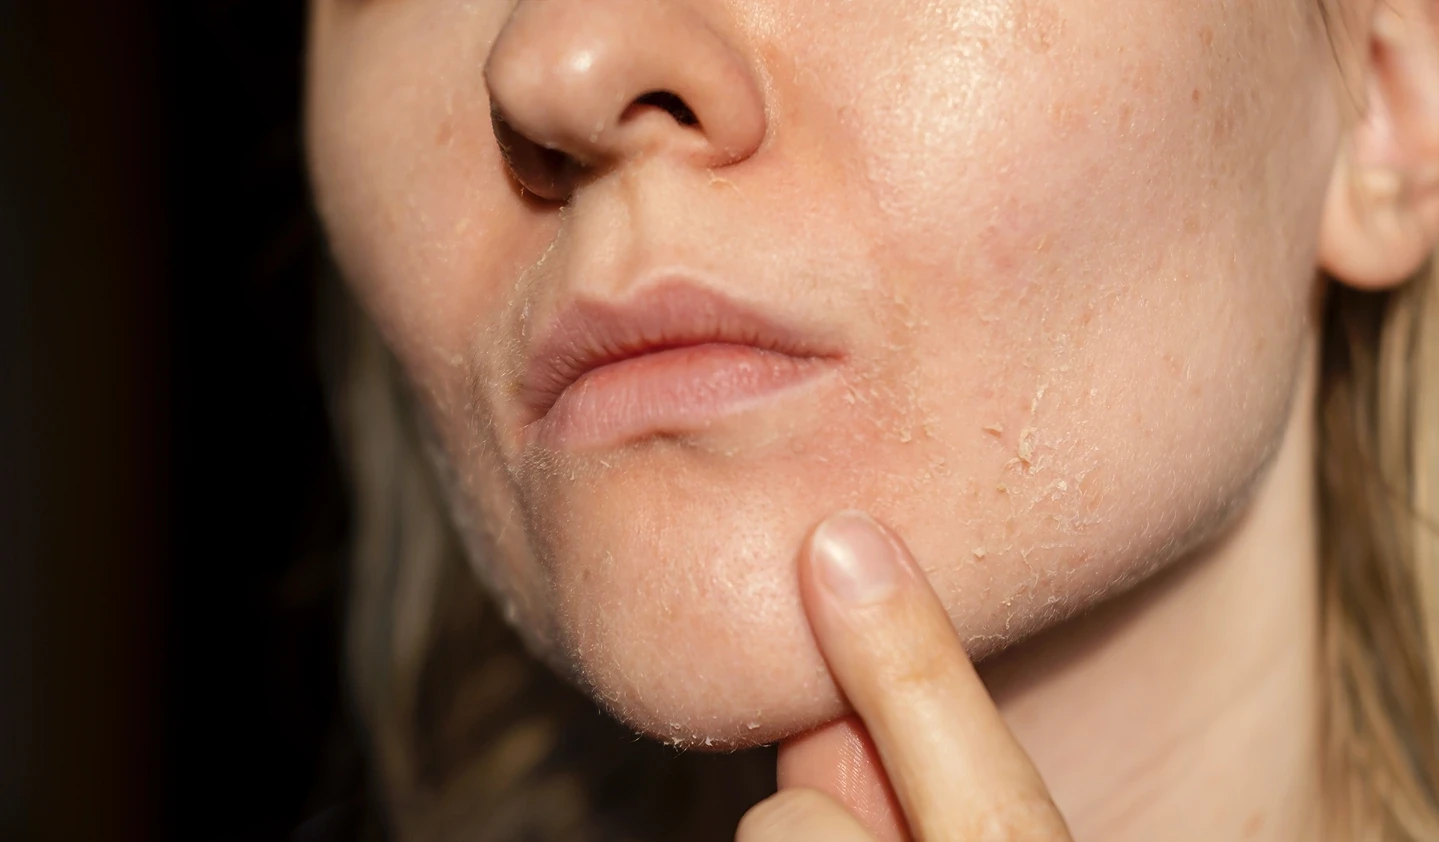
Those with sensitive skin can potentially experience irritation, rashes or bumps from dermaplaning. Make sure to patch test first.
Contraindications
Some circumstances may make dermaplaning inadvisable. Avoid dermaplaning at home if you have:
- Active acne or breakouts
- Skin infections or open wounds
- Eczema, psoriasis or rosacea
- Used isotretinoin (Accutane) in the last 6-12 months
- Sunburn
- Very thin skin
Pregnant or nursing women should also consult their doctor before trying at-home dermaplaning.
When in doubt, seek professional guidance to evaluate your skin’s condition. Estheticians can advise whether dermaplaning is right for your skin type and needs.
What are the Best Oils for Dermaplaning at Home?
The oil you choose acts as a lubricant so the dermaplaning blade can glide smoothly over skin. This helps prevent irritation, nicks and cuts.
Oils also supply skin-nourishing fatty acids and antioxidants. Selecting the right oil ensures proper slip and hydration while avoiding clogged pores.
Here are top oils for at-home dermaplaning and their key benefits:
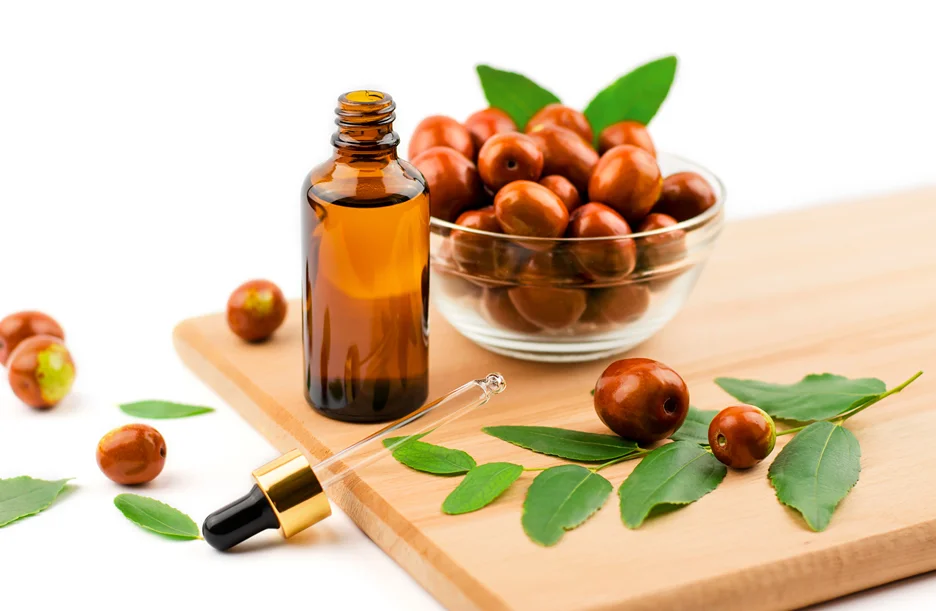
Jojoba Oil
Jojoba oil is ideal for dermaplaning because it’s:
- Hypoallergenic and non-comedogenic (won’t clog pores)
- Mimics skin’s natural sebum, so it’s moisturizing while still feeling light
- Rich in antioxidants like vitamin E and B-complex vitamins
- Anti-inflammatory and antimicrobial
With its similarities to our sebum, jojoba oil is gentle enough for even sensitive skin. It leaves skin feeling smooth and supple after dermaplaning without heaviness or residue.
Squalane Oil
Squalane oil is a naturally-derived lipid that mimics our skin’s natural lipids. Benefits of squalane oil include:
- Intense hydration without a greasy feel
- Improves elasticity and smooths fine lines
- Helps strengthen skin’s moisture barrier
- Antibacterial properties calm breakouts
- Non-comedogenic and suitable for sensitive skin
This lightweight oil gives great slip for dermaplaning while keeping skin nourished and balanced.
Argan Oil
Argan oil comes from the kernels of the Moroccan argan tree. It offers:
- Tons of antioxidants like vitamin E and fatty acids
- Deep hydration that soothes dry, irritated skin
- Non-greasy moisture that absorbs quickly
- Softening effects that improve skin texture
- Anti-aging properties to reduce wrinkles
The gentle yet nourishing properties of argan oil make it a stellar choice for most skin types, including sensitive and mature skin.
Rosehip Oil
Rosehip oil is extracted from the seeds of rose bushes. It provides:
- Essential fatty acids like linoleic and linolenic acid to reinforce the skin barrier
- Antioxidants including vitamin C and lycopene
- Anti-inflammatory benefits
- Hydration without a heavy feel
- Potential improvement of hyperpigmentation and acne scarring
Rosehip oil helps strengthen and rejuvenate skin while offering smooth glide for dermaplaning tools.
Grapeseed Oil
As a byproduct of winemaking, grapeseed oil offers:
- Lightweight texture that absorbs quickly without clogging pores
- Mild astringent qualities to tighten and tone skin
- High linoleic acid content to reinforce moisture barrier
- Rich in antioxidant vitamin E to combat aging
- Anti-inflammatory benefits that reduce redness and swelling
Grapeseed oil is fast-absorbing and great for oily or acne-prone skin. Its gentleness also makes it a nice option for sensitive skin.
Comparison of Top Oils for Dermaplaning
| Oil | Key Benefits | Drawbacks | Best For |
| Jojoba | Mimics natural sebum, antioxidant E & B vitamins, anti-inflammatory | More expensive | Most skin types |
| Squalane | Intense hydration, elasticity, antioxidant | Can be heavy for oily skin | Dry, mature, sensitive skin |
| Argan | Antioxidants, hydration, softening | Strong natural scent | Dry, sensitive, anti-aging |
| Rosehip | Fatty acids, antioxidants, improve pigmentation | Can cause breakouts | Dullness, scarring, mature skin |
| Grapeseed | Lightweight, tones & tightens, antioxidant E | Less nourishing | Oily, acne-prone, sensitive |
This overview of each oil’s pros and cons makes it easier to select the best match for your skin’s needs.
How to Prepare Your Skin for Dermaplaning?
Proper preparation is key to avoiding irritation and getting optimal results from at-home dermaplaning. Here are some tips:
Cleanse and Exfoliate
Always start with freshly cleansed skin free of makeup, sunscreen and debris. An exfoliating cleanser, scrub or chemical exfoliant like glycolic acid can help remove dead skin cells.
Exfoliating 1-2 times a week before dermaplaning will allow for better penetration of the dermaplaning blade and any skincare products applied after.
However, sensitive or dry skin types should avoid over-exfoliating to prevent damage to the skin barrier. Listen to what your skin needs.
Omit Actives
It’s best to avoid using retinoids, benzoyl peroxide, vitamin C and other potent actives in your skincare routine on the day you dermaplane. These can increase skin’s sensitivity to the dermaplaning blade.
Patch Test the Oil
Before dermaplaning your whole face, do a patch test of the chosen oil on your inner arm or behind your ear.
Apply a few drops of the oil and let it sit 10 minutes to make sure you don’t experience any irritation, rashes or unusual reactions.
Patch testing is a must if you have sensitive skin or allergies. But it’s a smart precaution for everyone.
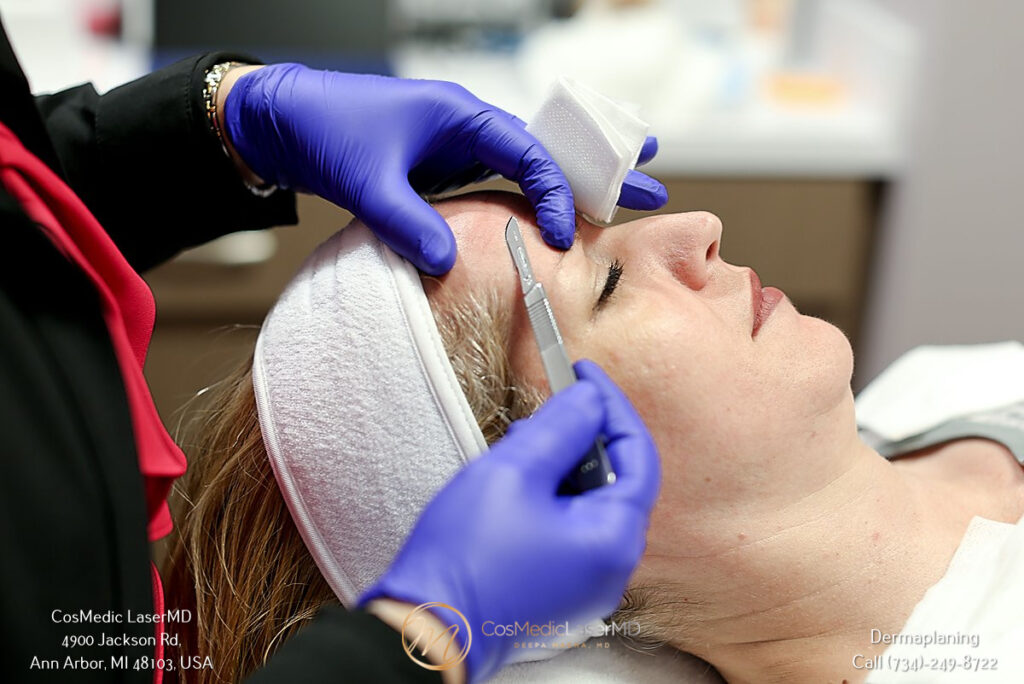
Step-by-Step Guide to Safe Dermaplaning at Home
Once you’ve selected the right oil and prepped your skin, it’s time for the actual dermaplaning. Follow these steps for smooth, fuzz-free skin:
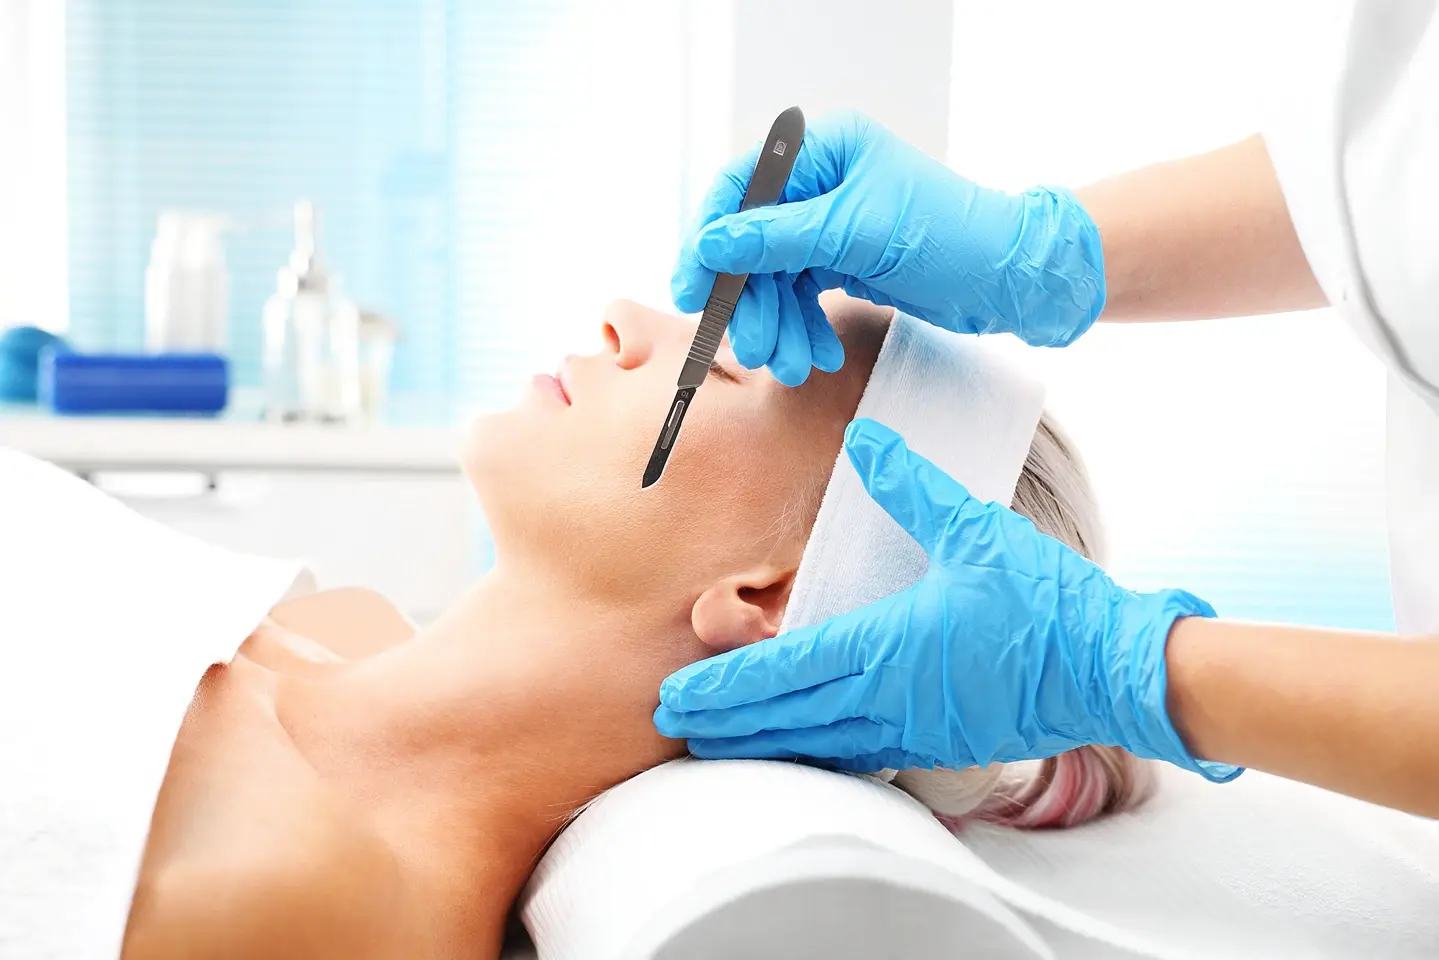
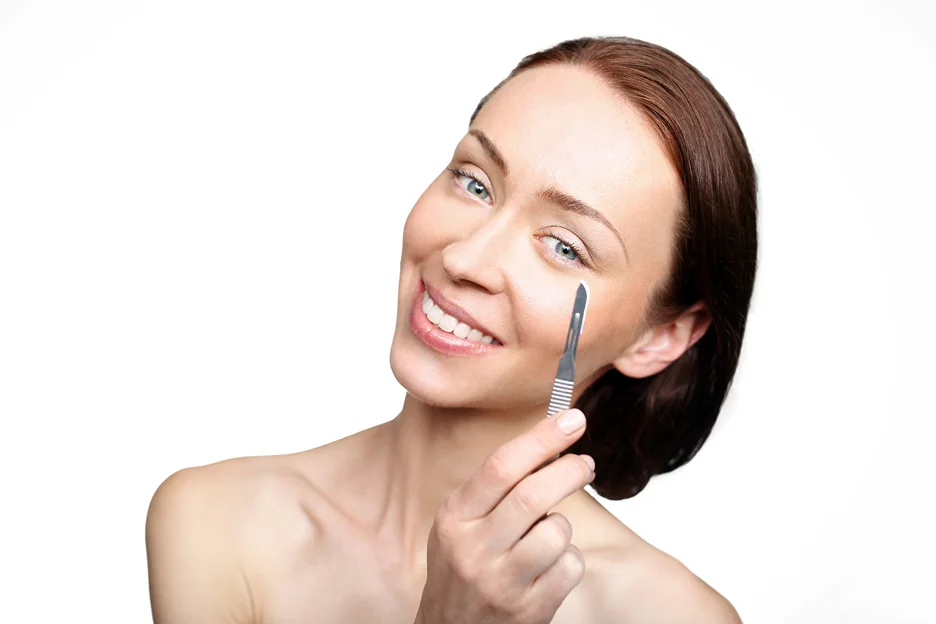
Choose a Sterilized Dermaplaning Tool
Specialized dermaplaning tools with a guarded design minimize nicks and cuts. Always use a fresh, sterile blade and dispose after 1-2 uses.
Razors should have a single edge and sharp, pointed tip to get into crevices around the nose and lips. Dull blades require more pressure and cause irritation.
Never share dermaplaning tools to avoid transferring bacteria. Sanitize tools with 70% isopropyl alcohol before use.
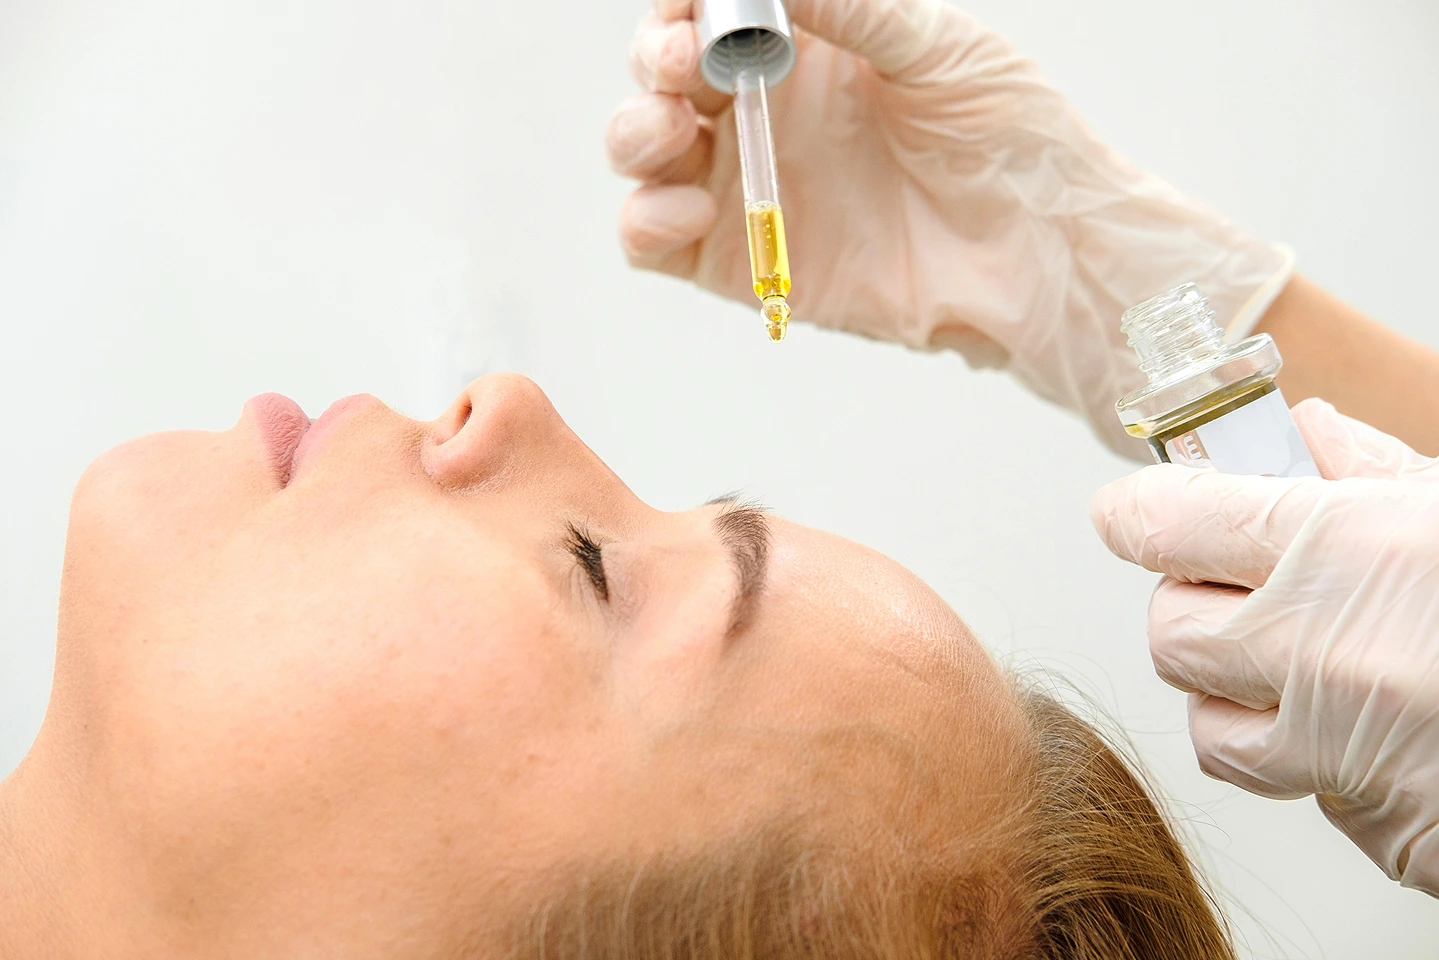
Apply Chosen Oil
After cleansing and exfoliating, pat your face dry with a clean towel. Apply a few drops of your selected face oil and massage it evenly all over dry skin.
Using oil on dry skin first helps it spread and absorb better. Ensure entire face is lubricated before dermaplaning.
Pull Skin Taut
Use one hand to keep skin stretched and taut. This provides a smooth surface for the dermaplaning tool to glide over easily.
Always keep skin tight and stable throughout the dermaplaning process to minimize risk of cuts.
Hold Tool at 45 Degree Angle
Hold the dermaplaning tool at a 45 degree angle just barely grazing the skin’s surface. Avoid digging in. Remember, you want to gently shave off dead skin and peach fuzz hairs – not remove layers of healthy skin!
Applying too much pressure can cause irritation. Let the tool do the work.
Use Short, Light Strokes
Use short, feather-light downward strokes starting at the sides of the face near the temples. Slowly work your way down in sections.
Overlap strokes slightly to cover all areas. Never go over the same spot more than 2-3 times. Rinse tool frequently to remove debris.
Take care around the delicate eye region, lips and corners of the nose. Avoid the eyelid area completely.
Post-Dermaplaning Care
Calm and soothe skin after dermaplaning with something like aloe vera gel applied with clean hands.
Follow up with hydrating serums or moisturizers since the barrier may be compromised. Always apply SPF the next morning.
Avoid other actives, scrubs, masks or intensive treatments for at least 24 hours post-dermaplaning.
Give skin time to recover before resuming your regular regimen.
When to Seek Professional Help?
While dermaplaning is generally very low-risk, certain reactions or skin changes should be evaluated by a professional:
- Excess redness and irritation lasting longer than 24 hours
- Acne breakouts or bumps after dermaplaning
- Rashes, burning or swelling
- Visible cuts, nicks or scarring
- Signs of infection like pain, heat and pus
Book an appointment with your dermatologist or esthetician promptly if you experience these or any unusual symptoms post-dermaplaning. Don’t attempt to dermaplane again until the reaction has resolved.
In some cases, professional dermaplaning is a better option:
- Severely dry or sensitive skin that’s easily irritated
- Chronic skin conditions like eczema, rosacea or psoriasis
- Deep acne scars or wrinkles you wish to address
- If you’ve never tried dermaplaning before
Estheticians use medical-grade tools and specialized techniques to safely treat more complicated skin concerns. Their guidance can help prevent damage and maximize results.
Conclusion: Mastering Safe At-Home Dermaplaning
When performed correctly using proper technique and care, dermaplaning at home can provide beautiful, smooth skin between professional treatments.
Pay attention to your particular skin type and needs when choosing the ideal facial oil. Prepare skin properly. Invest in quality tools and always replace blades regularly. Follow steps to prevent irritation and never overdo it.
While largely safe for most, dermaplaning does require caution and care. Listen to your skin and discontinue if any discomfort arises. Seek expert help for guidance or any reactions.
With the right approach, dermaplaning can be an effective DIY skincare technique. But remember, nothing truly replaces a treatment from a trained esthetician! Prioritize safety, allow time for skin to recover and enjoy your smooth, radiant complexion.