While DIY chemical peels can be a cost-effective and convenient way to improve your skin’s appearance, it’s crucial to approach them with caution and seek professional advice when needed to ensure the best possible results and minimize the risk of complications.
What is a DIY Chemical Peel?
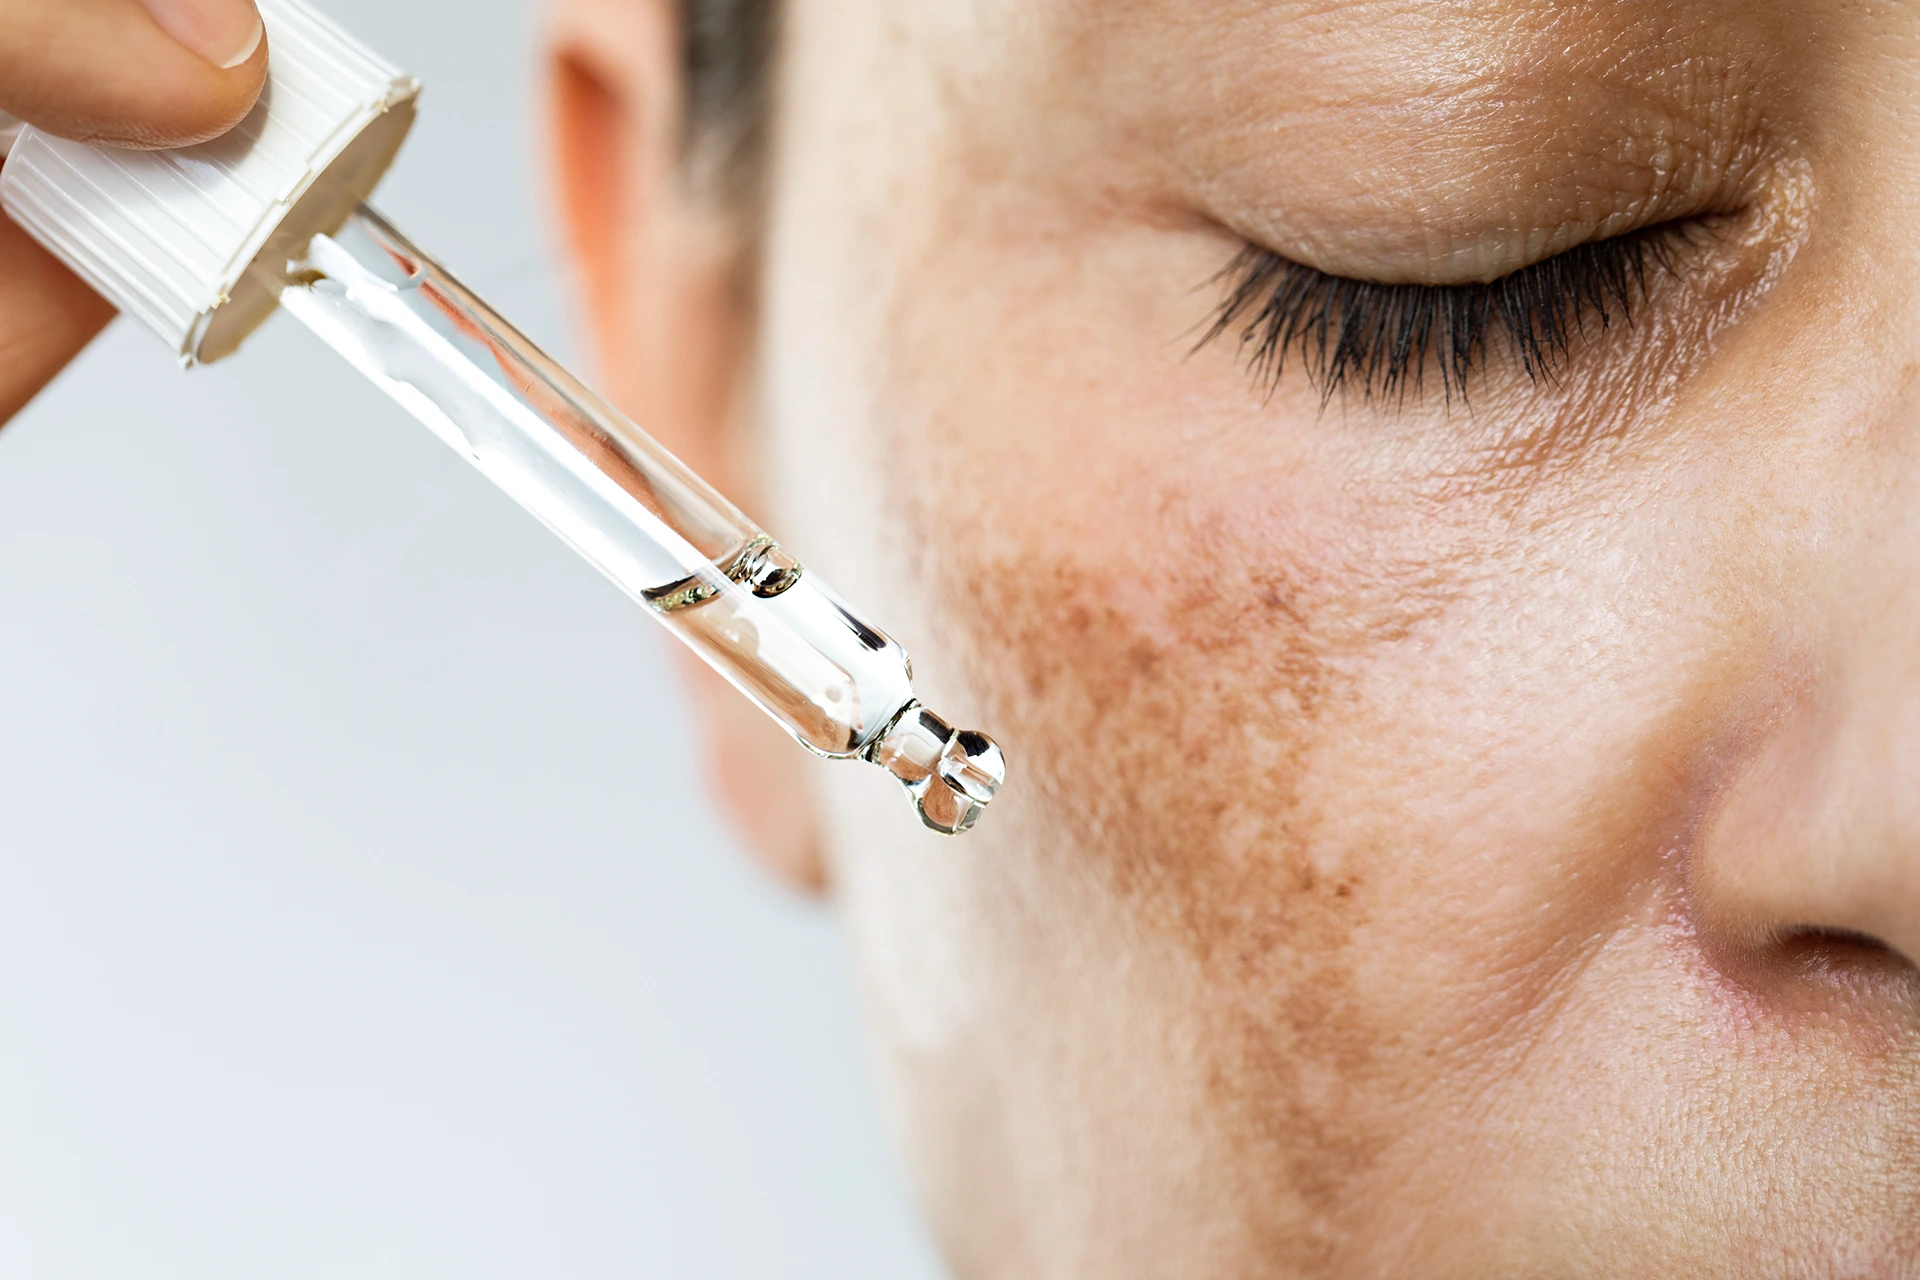
A DIY chemical peel is a homemade skincare treatment that harnesses the power of chemical exfoliants to work its magic on your skin.
By applying a solution containing acids or enzymes, you allow these ingredients to penetrate your skin and break down the bonds between dead skin cells. This process encourages cell turnover, revealing the smoother, brighter, and more youthful-looking skin hiding beneath the surface.
How do DIY Chemical Peels Work?
The active ingredients in these homemade solutions work by dissolving the “glue” that holds dead skin cells together.
As these cells are removed, your skin’s natural regeneration process kicks into high gear, stimulating collagen production and leading to firmer, more resilient skin over time. One of the best things about DIY chemical peels is that they offer a convenient and cost-effective alternative to professional treatments.
You can enjoy the benefits of a chemical peel from the comfort of your own home, tailoring the ingredients and strength to suit your specific skin concerns and sensitivity level.
Types of DIY Chemical Peels
When it comes to DIY chemical peels, you have a variety of options to choose from, each with its own unique benefits and properties. Let’s take a closer look at the most common types of peels you can create at home:
Alpha Hydroxy Acids (AHAs)
- Glycolic acid: Derived from sugar cane, glycolic acid is known for its ability to effectively penetrate the skin and promote cell turnover. It’s a popular choice for those looking to improve skin texture and reduce the appearance of fine lines and wrinkles.
- Lactic acid: Gentle and hydrating, lactic acid is derived from milk and is an excellent option for those with sensitive skin. It helps to exfoliate while simultaneously moisturizing the skin.
- Fruit acids: Citric acid (from citrus fruits), malic acid (from apples), and tartaric acid (from grapes) provide mild exfoliation, making them suitable for those new to chemical peels or with sensitive skin.
Beta Hydroxy Acids (BHAs)
- Salicylic acid: This oil-soluble acid is a go-to for those with acne-prone or oily skin. It penetrates deep into the pores, helping to unclog them and reduce inflammation.
Enzymes
- Papain (from papaya) and bromelain (from pineapple): These fruit enzymes gently dissolve dead skin cells, making them an excellent choice for sensitive skin.
DIY Chemical Peel Recipes
Now that you’re familiar with the different types of peels, let’s explore some simple, yet effective DIY chemical peel recipes you can try at home:
Glycolic Acid Peel
- Mix 1 tbsp of glycolic acid (30% concentration) with 1 tbsp of distilled water.
- Apply the solution to clean skin, leave on for 2-3 minutes, then rinse off.
Lactic Acid Peel
- Mix 2 tbsp of plain yogurt (contains lactic acid) with 1 tsp of honey.
- Apply the mixture to your face, leave on for 10-15 minutes, then rinse off.
Salicylic Acid Peel
- Mix 1 tsp of salicylic acid (2% concentration) with 1 tbsp of aloe vera gel.
- Apply the solution to clean skin, leave on for 5-10 minutes, then rinse off.
Papaya Enzyme Peel
- Mash 1/4 cup of ripe papaya and mix with 1 tbsp of honey.
- Apply the mixture to your face, leave on for 10-15 minutes, then rinse off.
Preparing for a DIY Chemical Peel

Before diving into your at-home chemical peel, it’s crucial to prepare your skin and gather the necessary materials. Here’s a step-by-step guide to ensure you’re ready for your peel:
Patch Testing
- Always perform a patch test to check for skin sensitivity before applying a peel to your entire face.
- Apply a small amount of the peel solution to a discreet area, such as behind your ear, and wait 24 hours to ensure no adverse reactions occur.
Prepping the Skin
- Cleanse your skin thoroughly to remove any dirt, oil, or makeup.
- Avoid exfoliating or using harsh skincare products for at least 24 hours before your peel to prevent irritation.
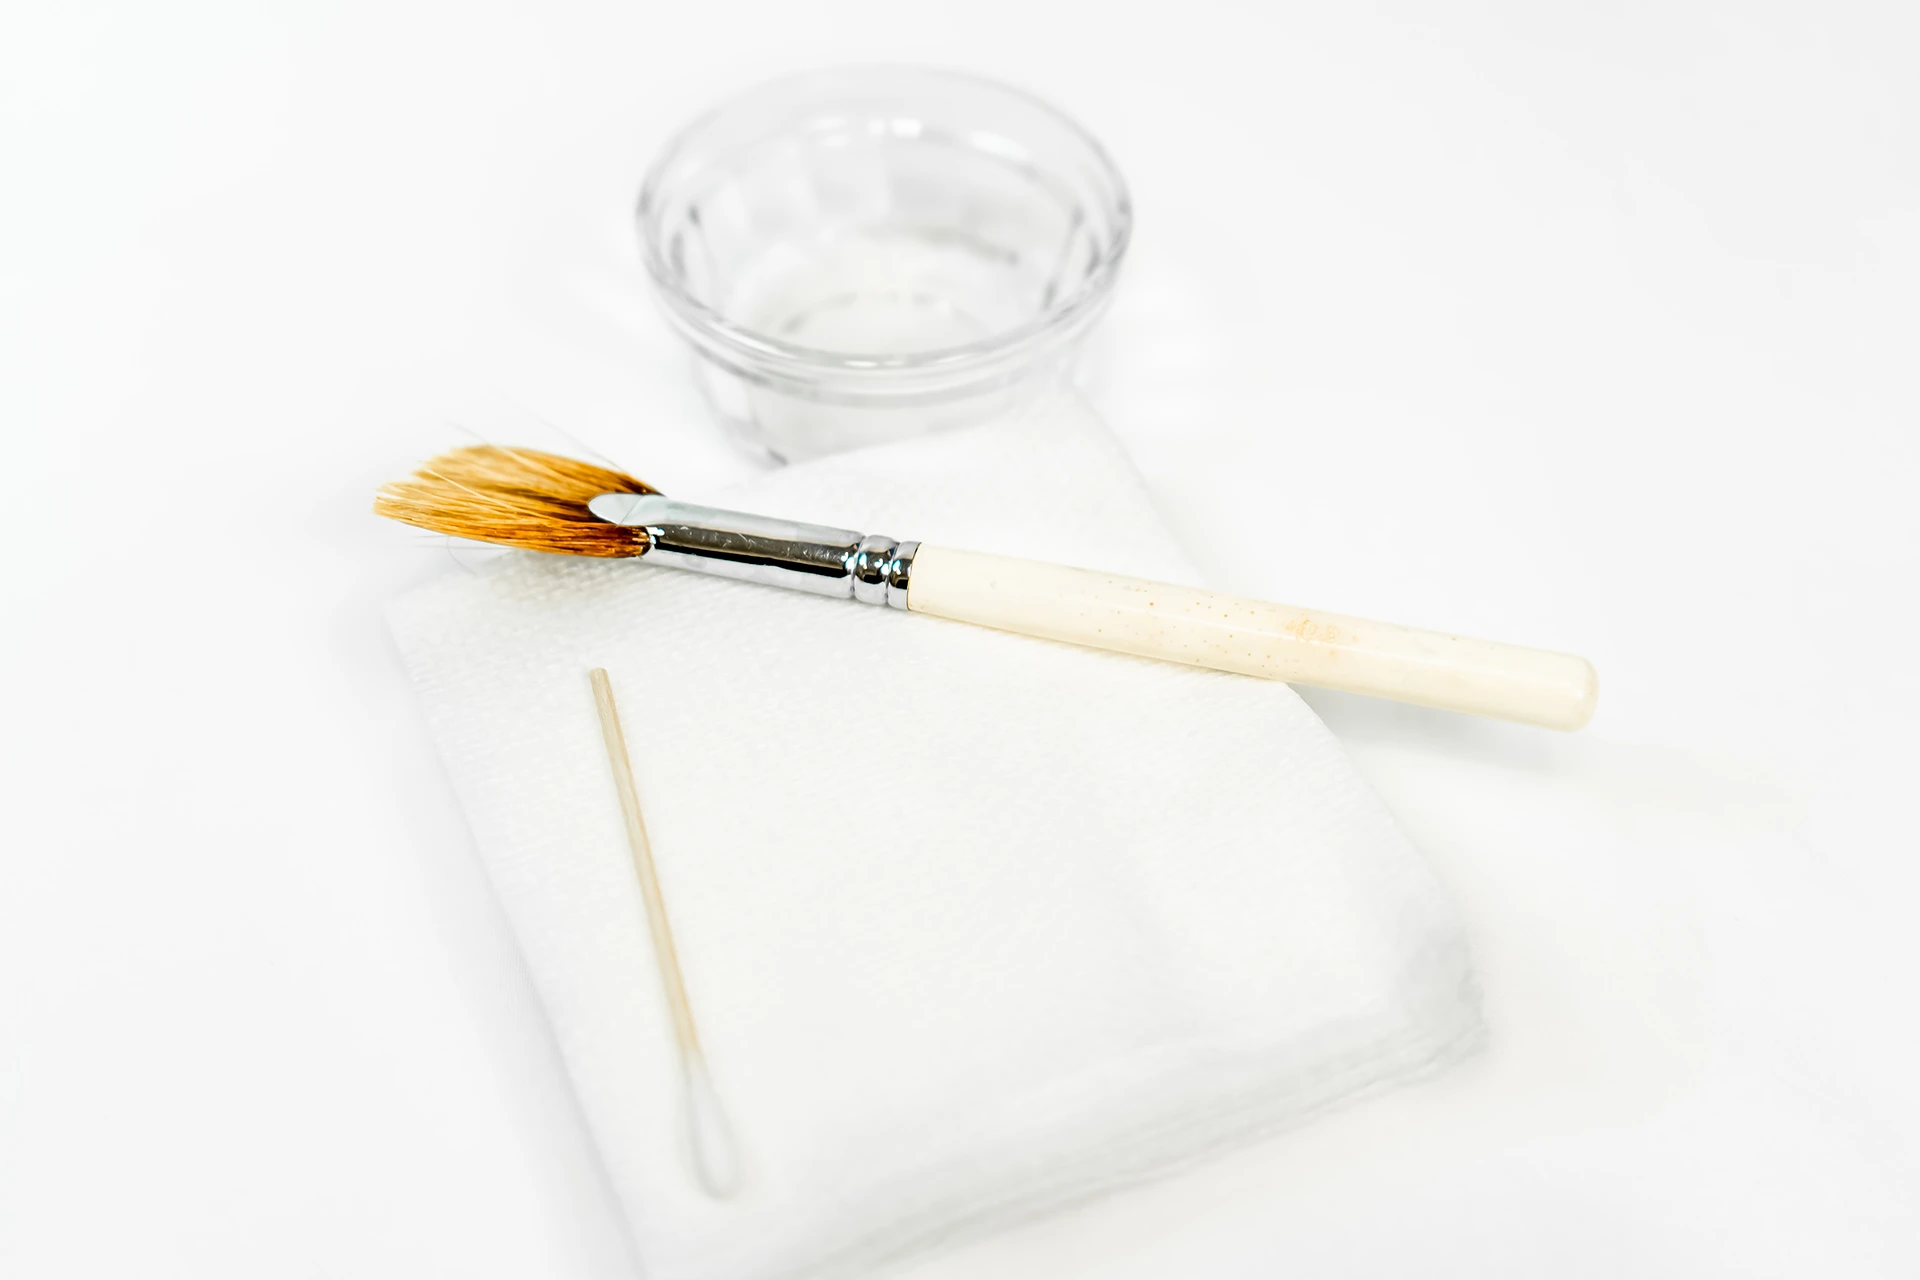
Gathering Materials
- Collect all the ingredients needed for your chosen peel recipe.
- Use measuring spoons and a mixing bowl to ensure accurate proportions.
- Have cotton pads or a small brush ready for application.
- Prepare a neutralizing solution (e.g., baking soda mixed with water) in case of discomfort.
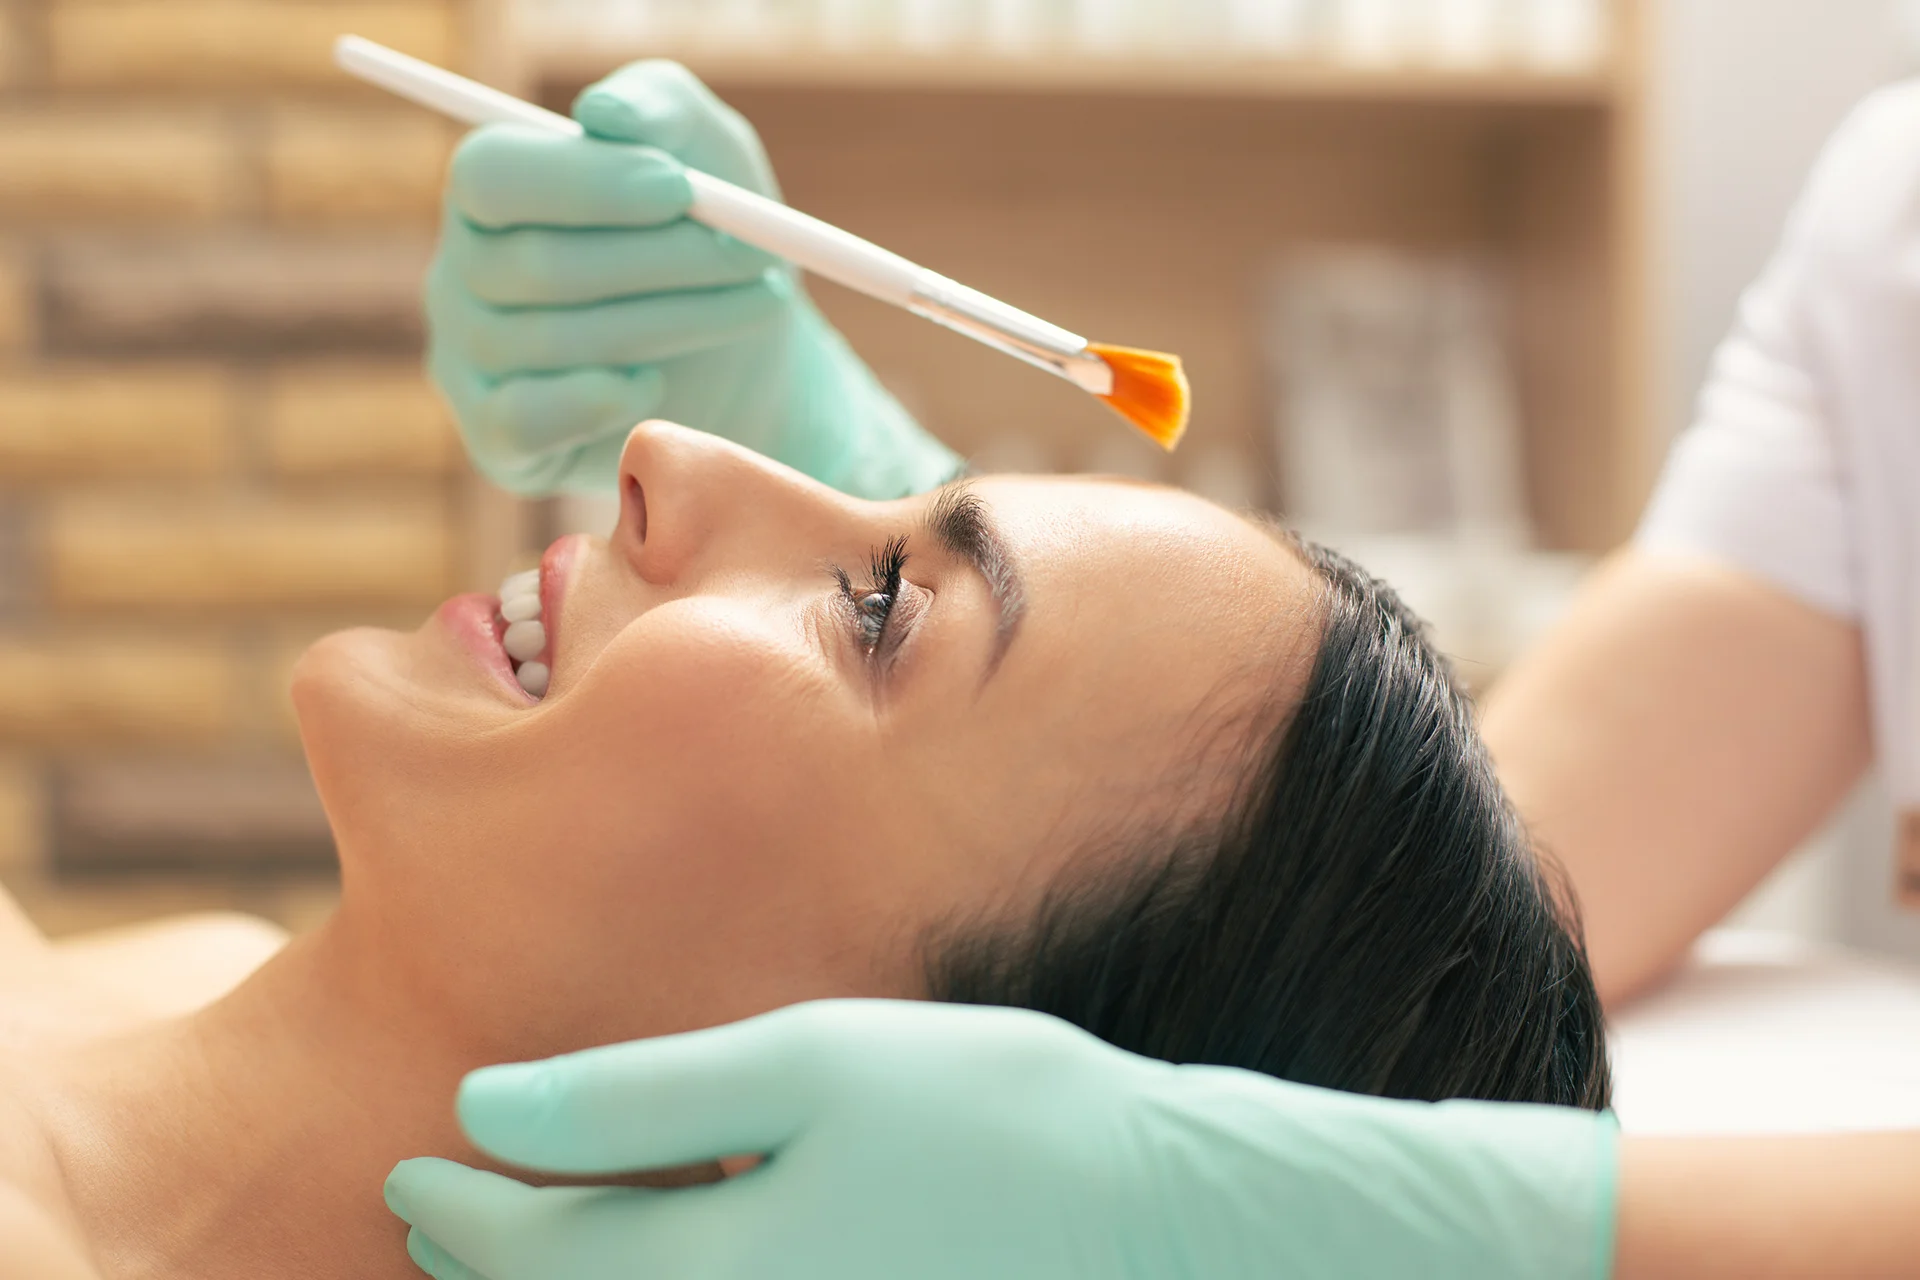
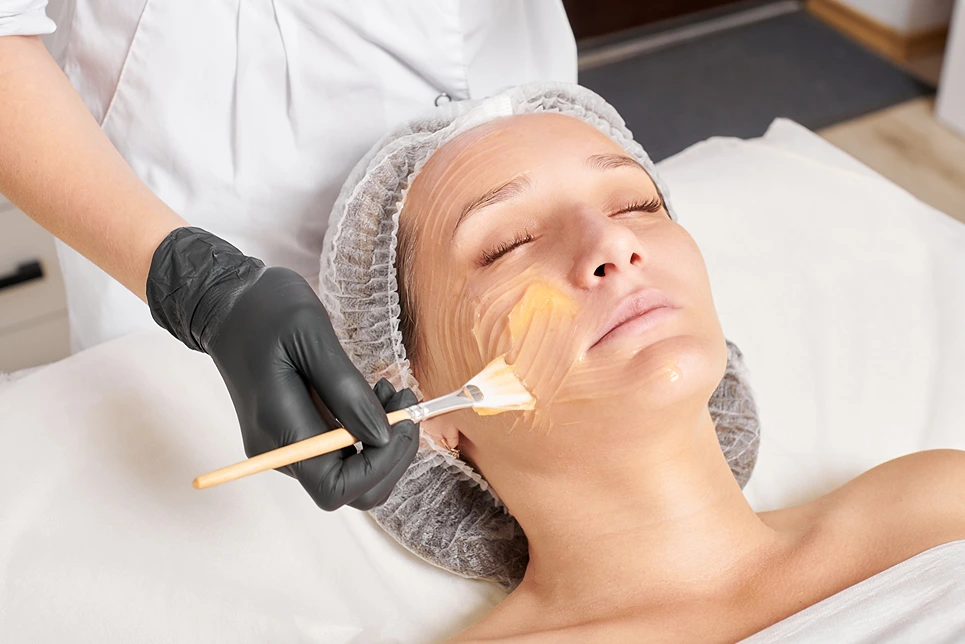
Applying a DIY Chemical Peel
Now that you’re prepped and ready, it’s time to apply your DIY chemical peel. Follow these steps for a safe and effective application:
Step-by-Step Application
- Apply the peel solution evenly to clean, dry skin using a cotton pad or brush.
- Start with a thin layer and build up gradually to assess your skin’s tolerance.
- Leave the peel on for the recommended time based on the recipe and your skin sensitivity.
- Rinse off thoroughly with lukewarm water or neutralize with the prepared solution if needed.
Precautions and Safety Measures
- Avoid applying the peel to broken or inflamed skin.
- Steer clear of the eye area and mucous membranes.
- If you experience burning, stinging, or excessive discomfort, stop the peel and rinse immediately.
- Use sunscreen diligently after the peel, as your skin will be more sensitive to UV rays.
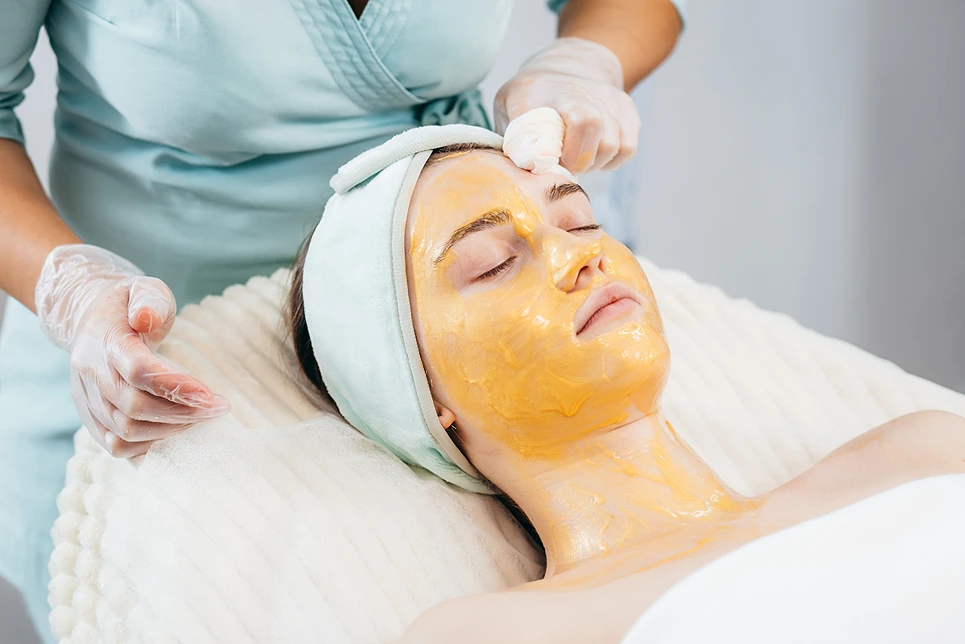
Post-Peel Care
Proper post-peel care is essential for maintaining your skin’s health and ensuring optimal results. Here’s what you should do:
Immediate Aftercare
- Apply a soothing, non-comedogenic moisturizer to hydrate and calm your skin.
- Avoid sun exposure and wear broad-spectrum sunscreen with at least SPF 30.
Long-Term Maintenance
- Incorporate gentle skincare products into your routine to support your skin’s healing process.
- Continue using sunscreen daily to protect your renewed skin and prevent further damage.
- Repeat your DIY chemical peel every 2-4 weeks, depending on your skin’s tolerance and desired results.
When to Consider Professional Chemical Peel
While DIY chemical peels can be effective, there are times when seeking professional treatment is the best option:
Severe Skin Concerns
If you have deep wrinkles, significant hyperpigmentation, or acne scars, professional peels may be more effective than DIY options.
Desired Strength and Depth
Professional peels can be customized to various strengths and depths, allowing for more targeted treatment of specific skin concerns.
Access to Advanced Techniques and Technology
Dermatologists and skincare professionals have access to specialized techniques and technology that can enhance the results of chemical peels.
Reduced Risk of Complications
Under the guidance of a trained professional, the risk of adverse reactions or complications from chemical peels is minimized.
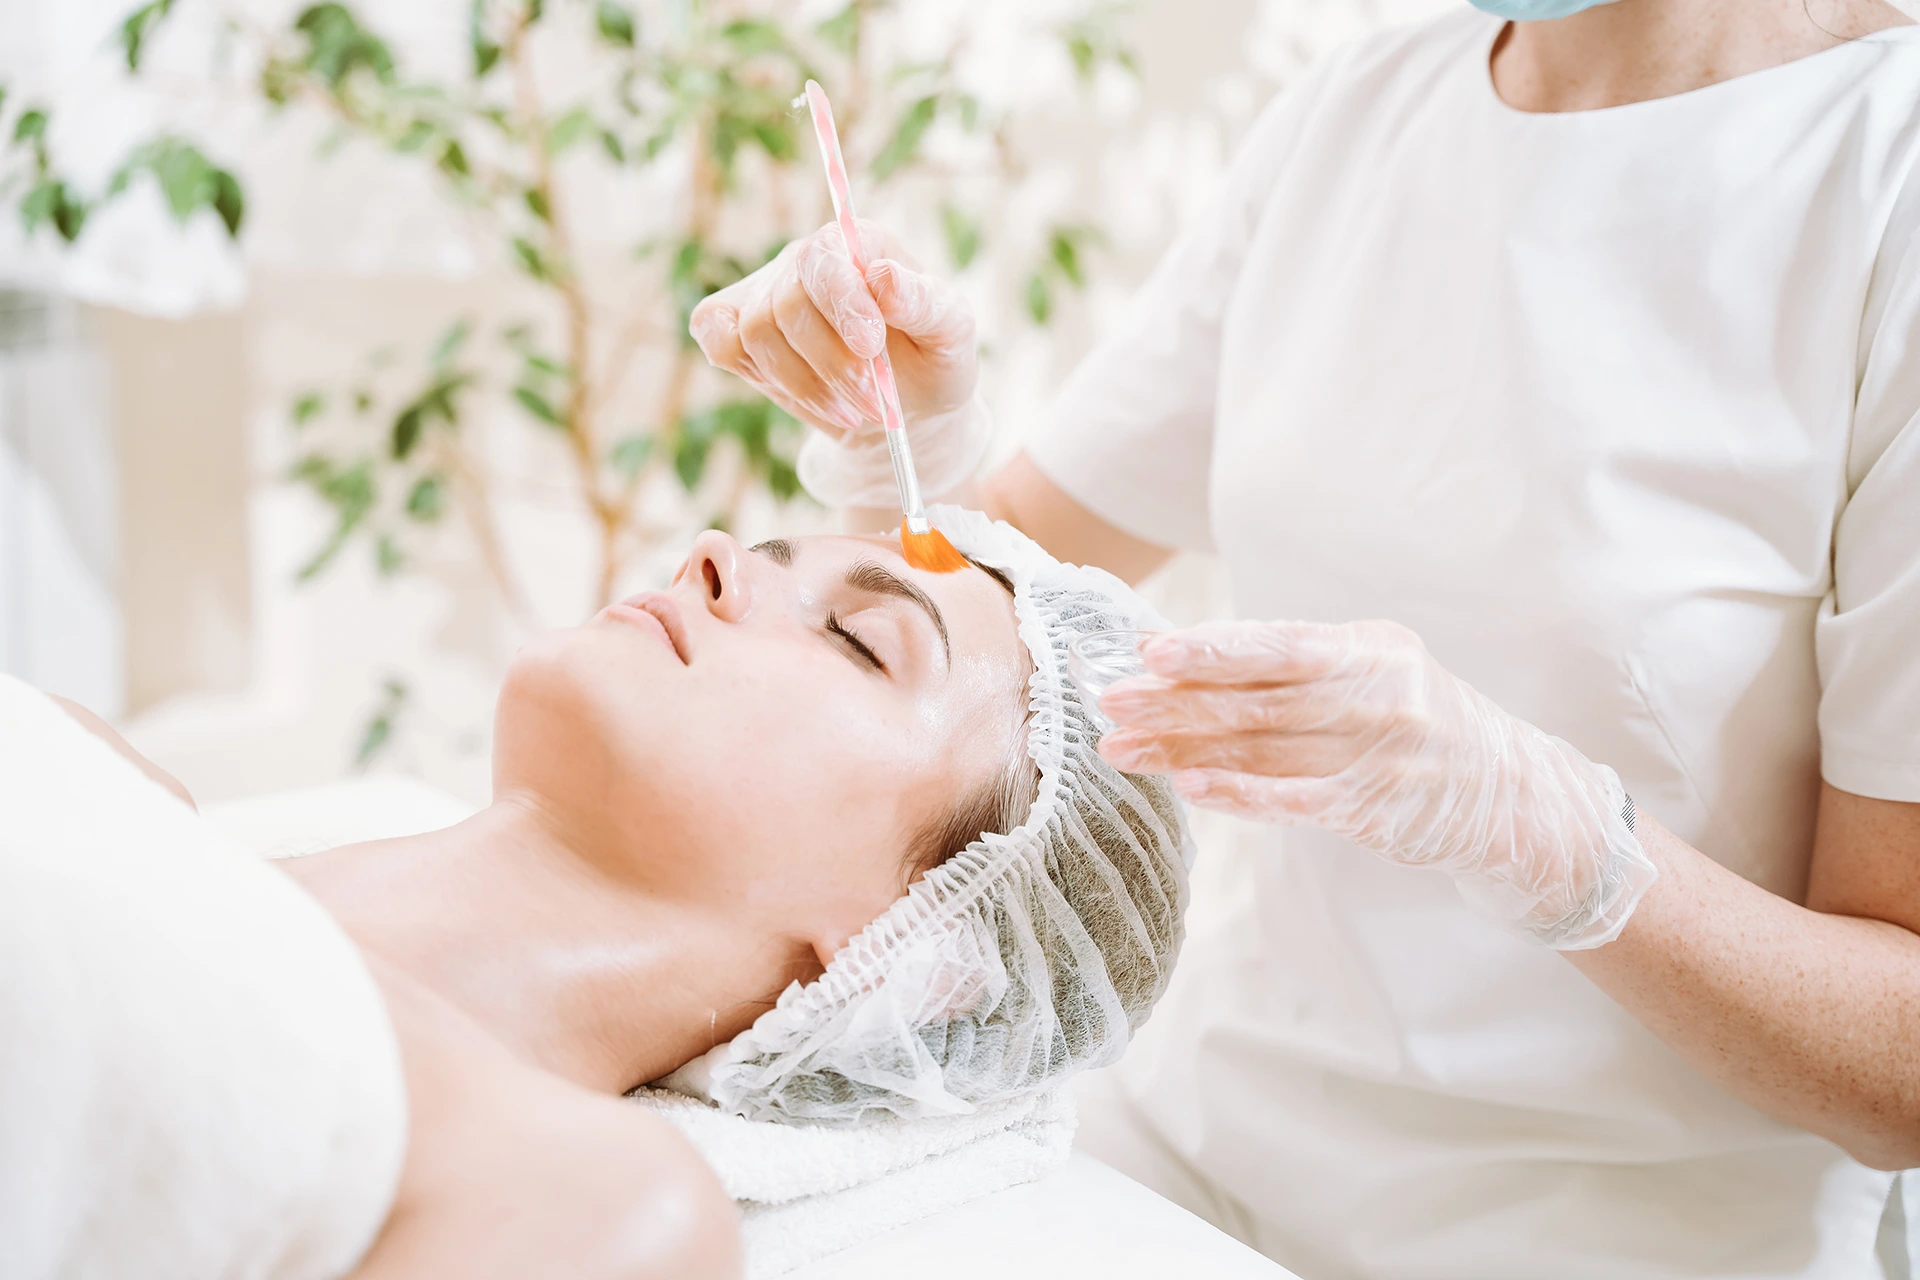
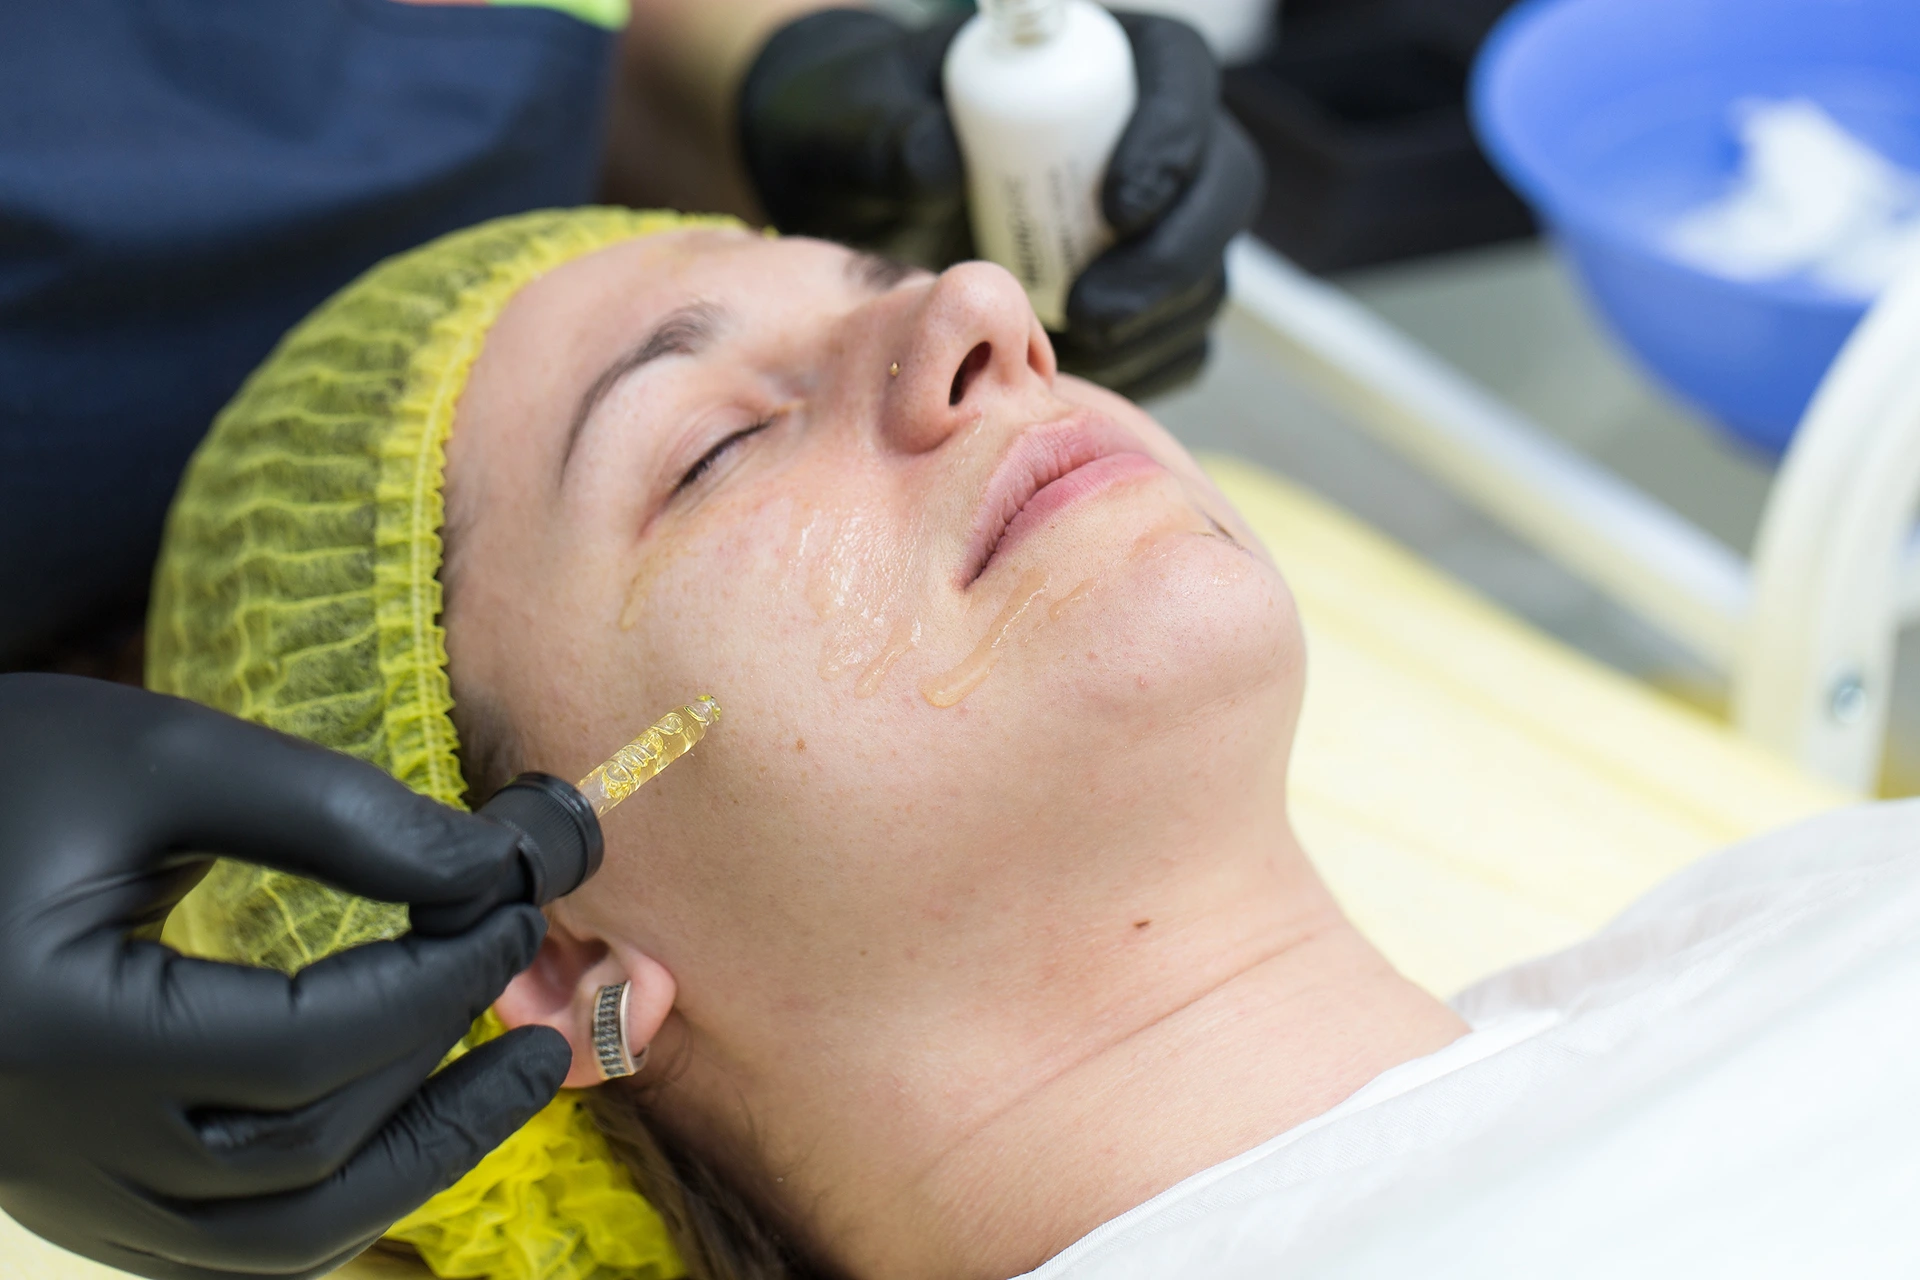
Why Professional Chemical Peels are the Best Option
Although DIY chemical peels have their advantages, professional peels performed by licensed aestheticians or dermatologists offer unparalleled benefits:
Expertise and Knowledge
Skincare professionals have extensive training and knowledge in chemical peels, allowing them to accurately assess your skin and recommend the most suitable treatment.
Customization and Precision
Professional peels can be tailored to your specific skin concerns and goals, ensuring optimal results.
Safety and Controlled Environment
Professional chemical peels are performed in a sterile, controlled environment, minimizing the risk of infection or complications.
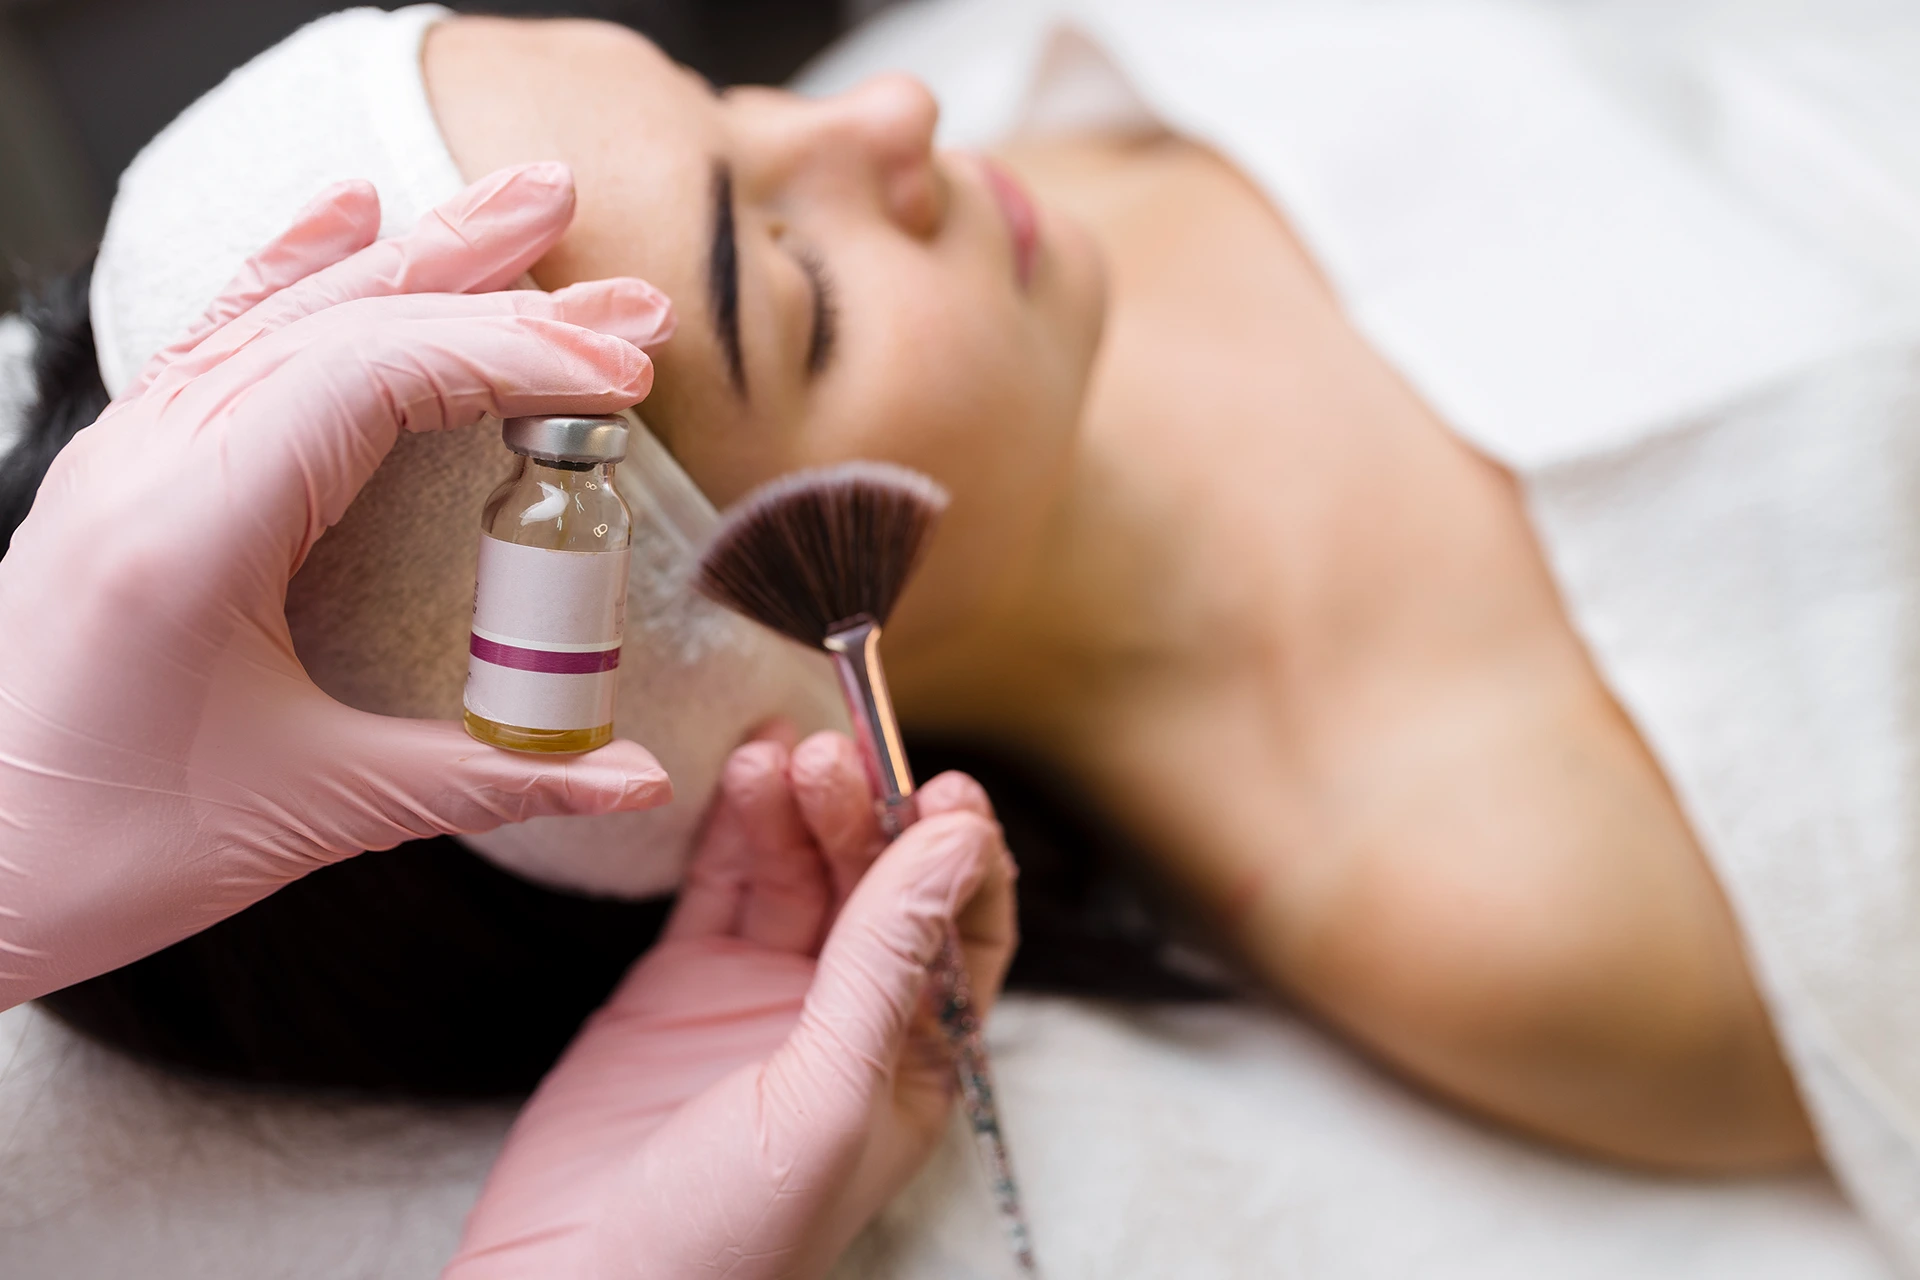
Advanced Formulations and Techniques
Professional-grade chemical peels often use higher concentrations of active ingredients and more advanced formulations compared to DIY options.
Comprehensive Pre- and Post-Care Guidance
When you opt for a professional chemical peel, you receive personalized pre-treatment preparation instructions and post-peel care guidance to optimize your results and ensure proper skin recovery.
DIY vs. Professional Chemical Peels Table
| Aspect | DIY Chemical Peels | Professional Chemical Peels |
| Cost | More affordable | Higher cost |
| Convenience | Can be done at home | Requires a visit to a skincare professional |
| Customization | Limited options | Tailored to individual skin concerns |
| Strength | Lower concentrations | Higher, more effective concentrations |
| Safety | Potential for complications if not done properly | Performed by trained professionals in a controlled environment |
| Results | Mild to moderate improvements | More dramatic, targeted results |
Conclusion
While DIY chemical peels have their advantages, it’s important to recognize the superiority of professional peels performed by licensed aestheticians or dermatologists.
With their expertise, customization options, advanced formulations, and comprehensive guidance, professional chemical peels offer a safer, more effective, and targeted approach to achieving your skincare goals.
If you have severe skin concerns or are unsure about the appropriate peel for your skin type, it’s always best to consult with a skincare professional to ensure the best possible results and minimize the risk of complications.
So, whether you choose to embark on a DIY chemical peel journey or opt for professional treatments, remember that the key to success lies in understanding your skin, using the right ingredients, and prioritizing safety.